SwitchyOmega extension
Getting Started
First, download SwitchyOmega for Chrome and Firefox extensions.
Proxy Setup
- Click on the SwitchyOmega icon in your browser, and open Options.
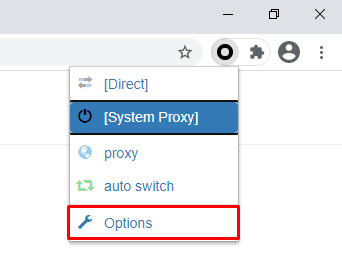
SwitchyOmega – Options
- Click on the New profile button in the PROFILES tab.
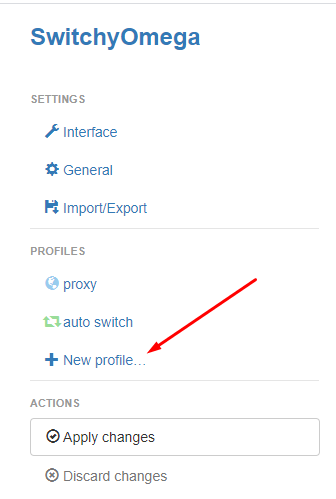
SwitchyOmega – New profile
- Write down the name you prefer in the pop-up window under Profile name. Select the Proxy Profile option. Then, click the Create button.
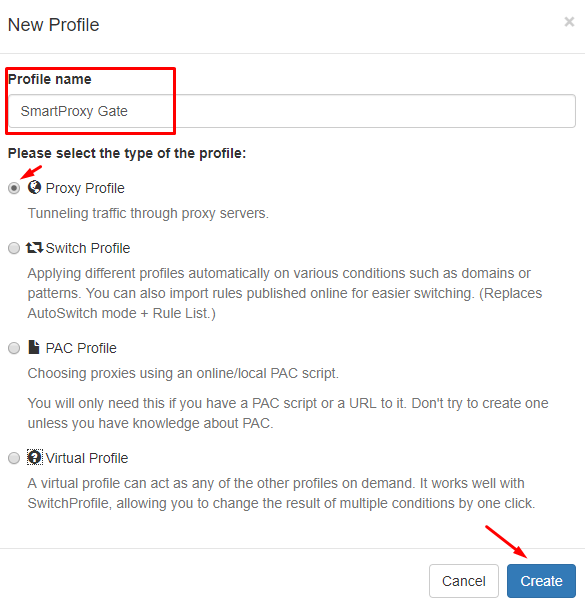
SwitchyOmega – Profile name
- Select HTTP in the generated table. You can find it under the Protocol column.

SwitchyOmega – HTTP Protocol
- Type in your preferred endpoint details in the Server and Port columns. If you are using a Whitelisted IP feature, skip to Step 7 of this tutorial. If not, click on the lock icon.
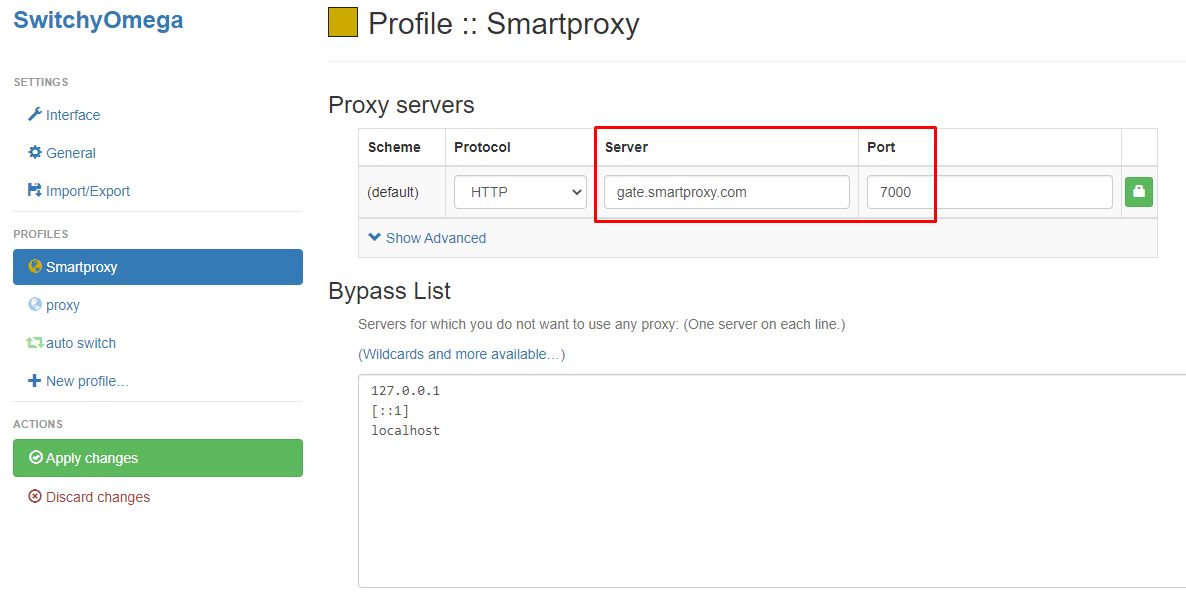
SwitchyOmega proxy settings – Server and Port
- Type in your Username and Password. Then, click the Save changes button in the pop-up field.
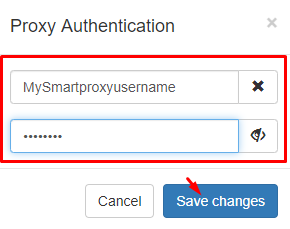
SwitchyOmega – Proxy Authentication
- Click on the Apply changes button to apply settings and create a profile for your proxy. You can find this under Actions.
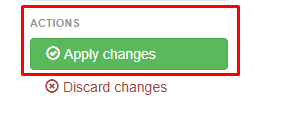
SwitchyOmega – Apply changes
- The profile you created will now appear in the proxy list when you access SwitchyOmega through the extension icon.
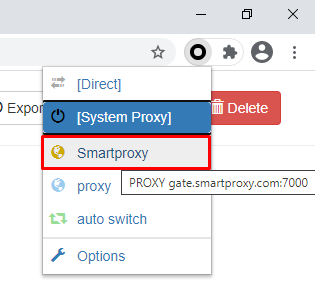
SwitchyOmega – Select proxy profile
- Visit ip.smartproxy.com to check the current IP address and location.
Support
Need help or just want to say hello? Our customer support is available 24/7. You can also reach us anytime via email at [email protected].
Updated 7 days ago