Quick Start
Dedicated ISP proxy Quick Start
Dedicated ISP proxies use endpoints
Endpoints are like gateways to IP pools.
The endpoint generator will automatically assign you proxies from the selected endpoint (proxy address).
Setup
- Firstly, open up the Static Residential (ISP) → Dedicated ISP → Proxy Setup section on your dashboard.
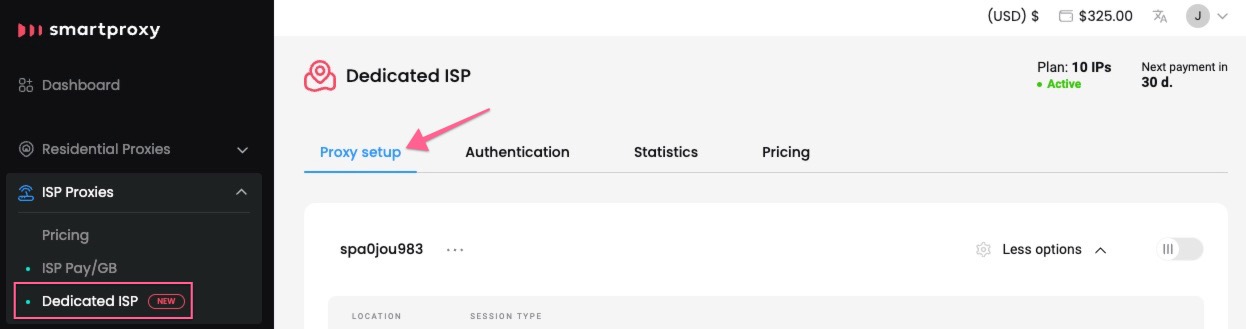
The Proxy setup section.
- Next, choose your proxy Authentication method. It can be either your whitelisted IP or one of your proxy users. Check out the Proxy authentication article for more details.
Authentication method selection.
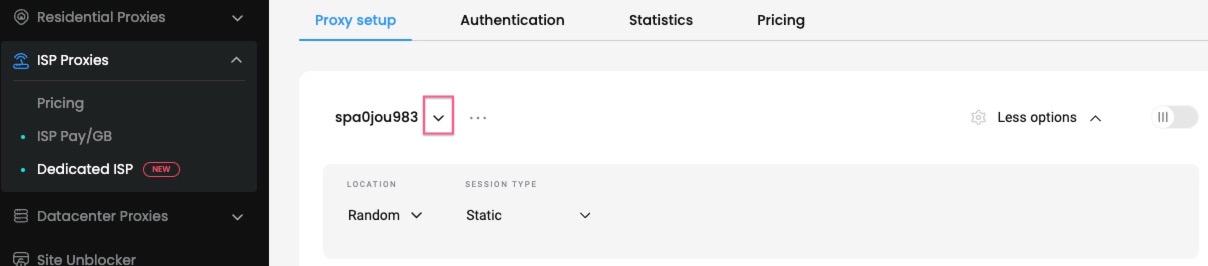
- Then, select the location of your proxy.
- Choosing Random will pick the IPs randomly from your list.
- Choosing a specific country or multiple will allow you to generate a list with only those locations.
- You can specify the IPs you would like to connect as a parameter by selecting the Direct IP option.
- You can toggle the IPs or use the search field to create a list.
- The IP selection will be limited to selected countries under Location (Random will provide an entire list).
- The IP list column in IPv4 format is displayed only using this feature.
IP-based whitelisting and location selection
For Dedicated ISP Proxies a location can only be specified when using the user:pass authentication method. Otherwise, you can only select a random location with a whitelisted IP.
An endpoints list with specified IPs or countries
The number of generated endpoints in the list will depend on how many IPs you purchased with your plan. As such, if you select only specific IPs or countries, the total number of generated endpoints will be the same as your plan IP count, but the with the generated IPs repeating to fill the list.
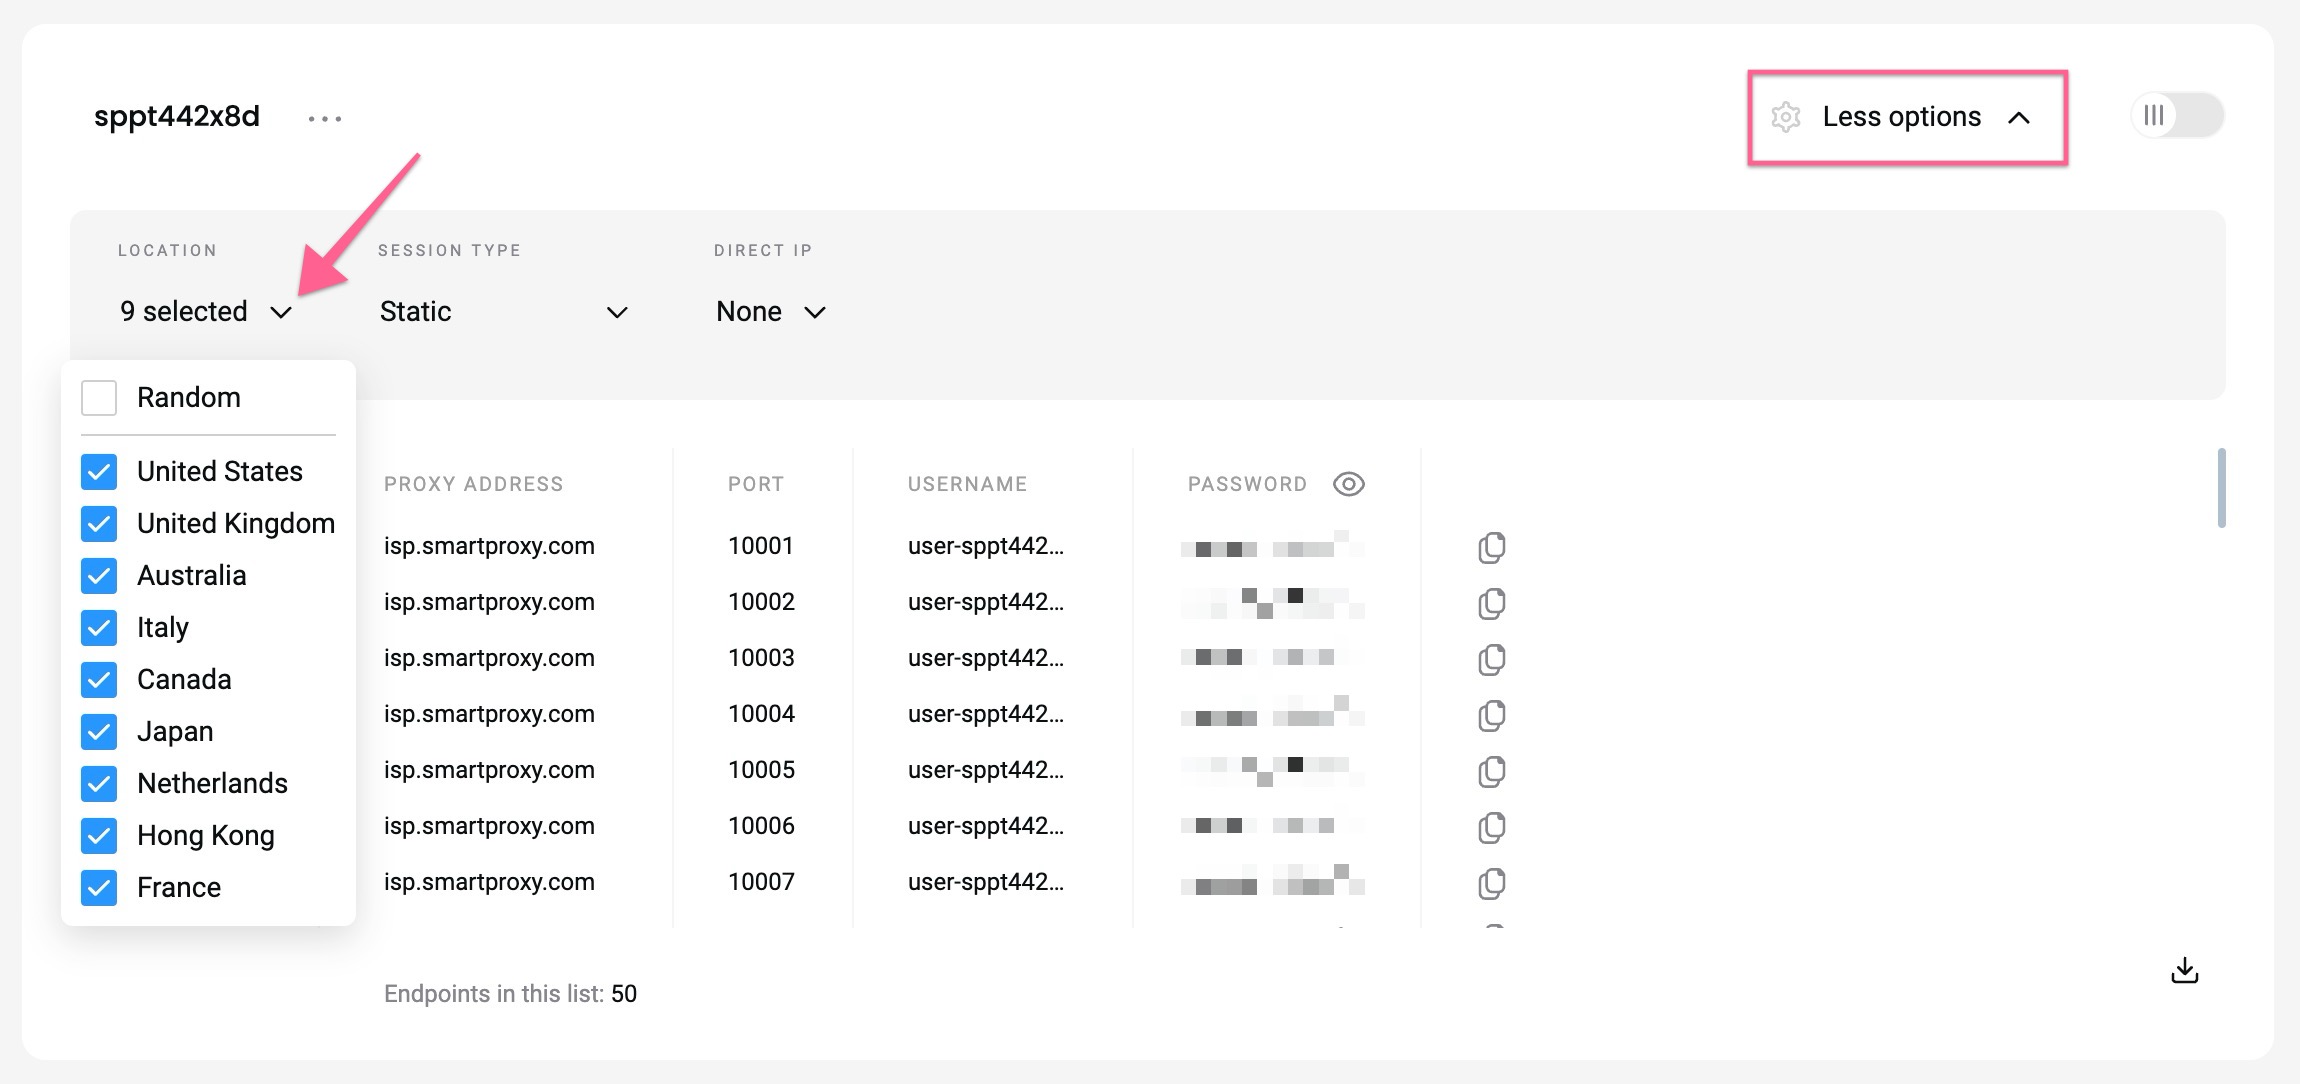
Location selection.
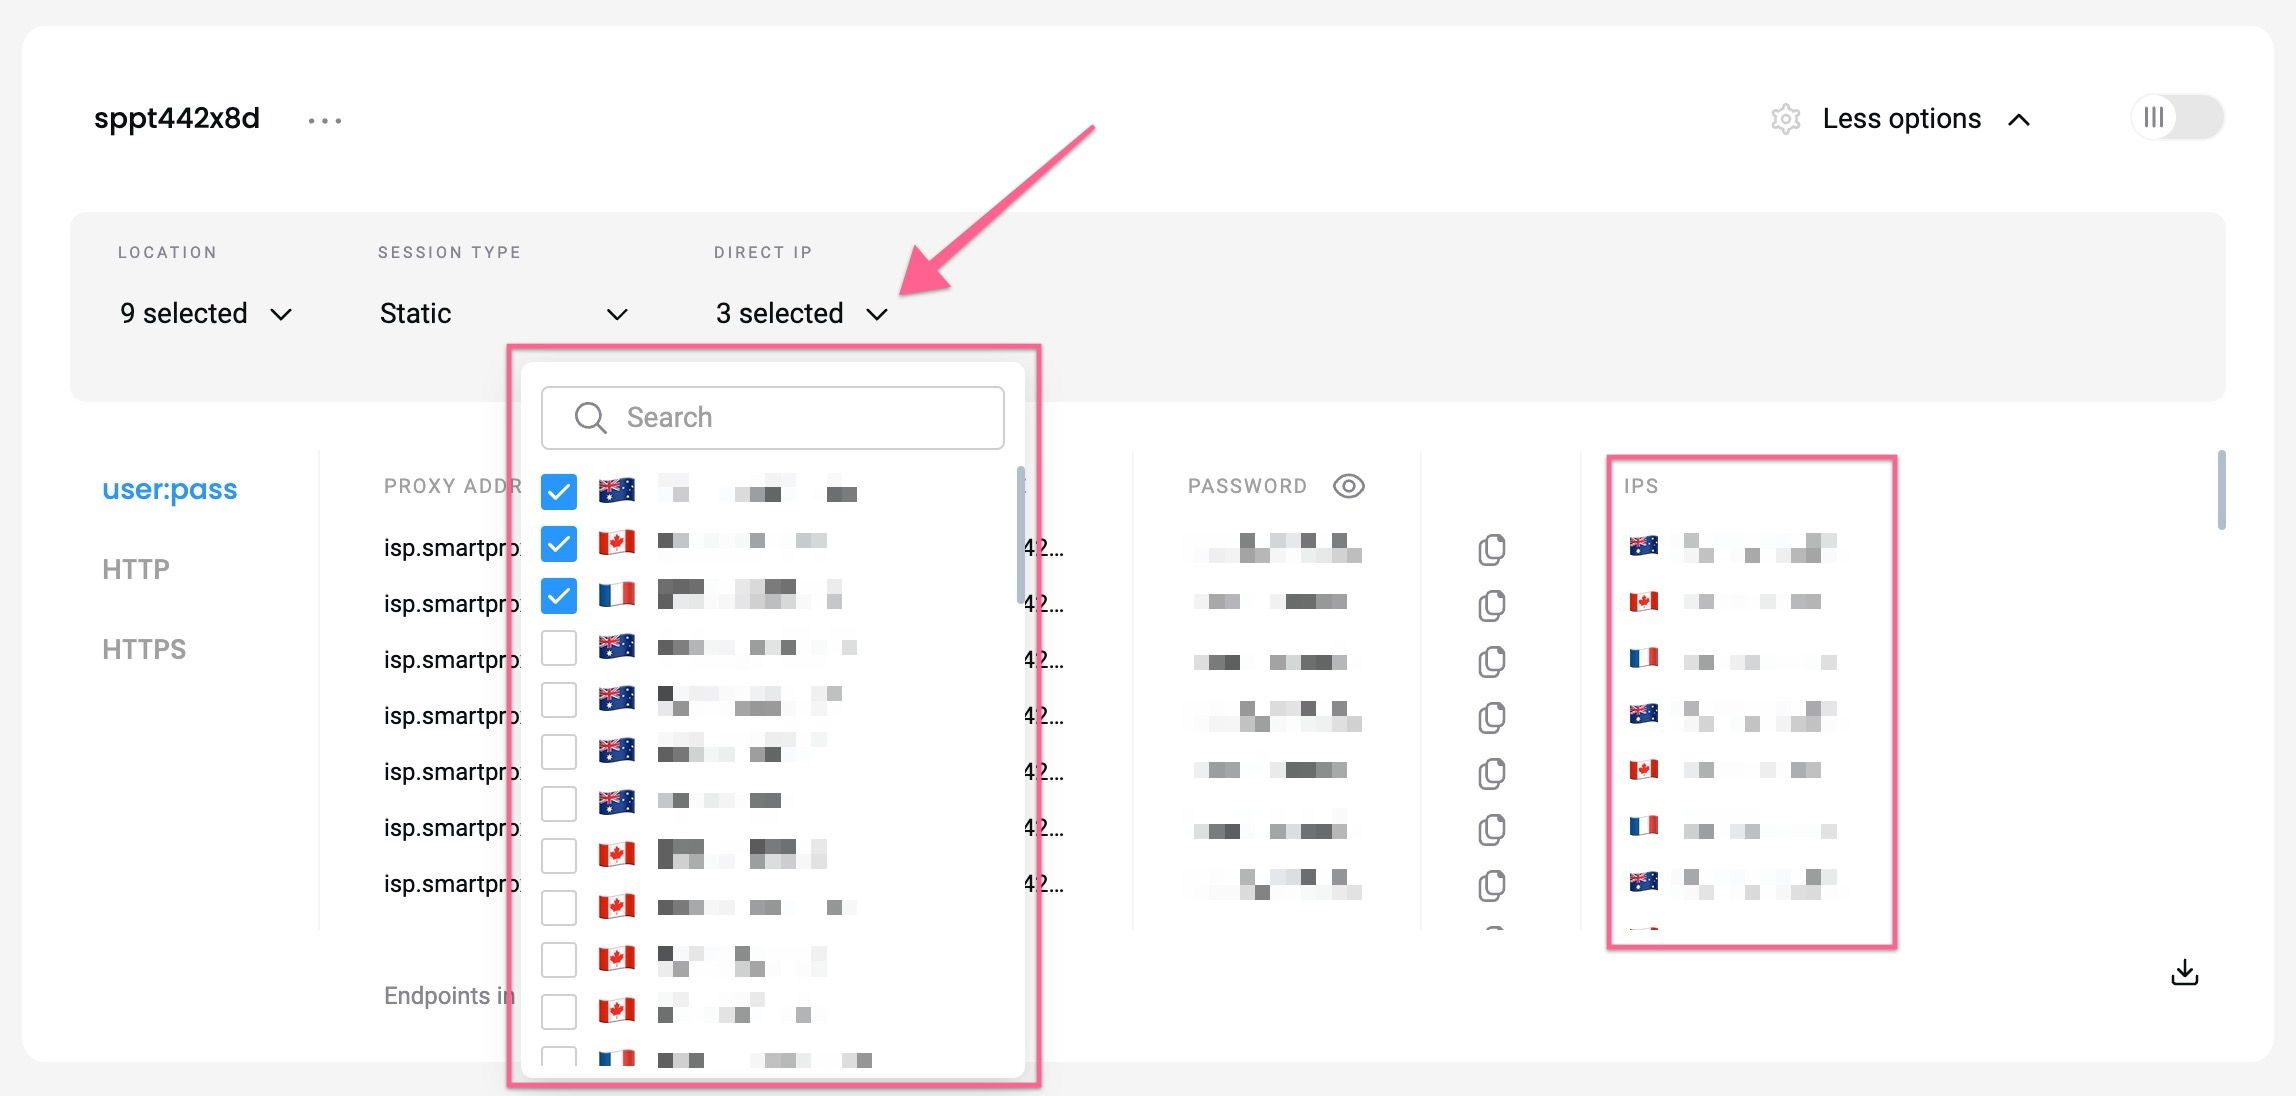
Specific IP selection as a direct IP parameter.
- Afterward, select your preferred Session type and Protocol format.
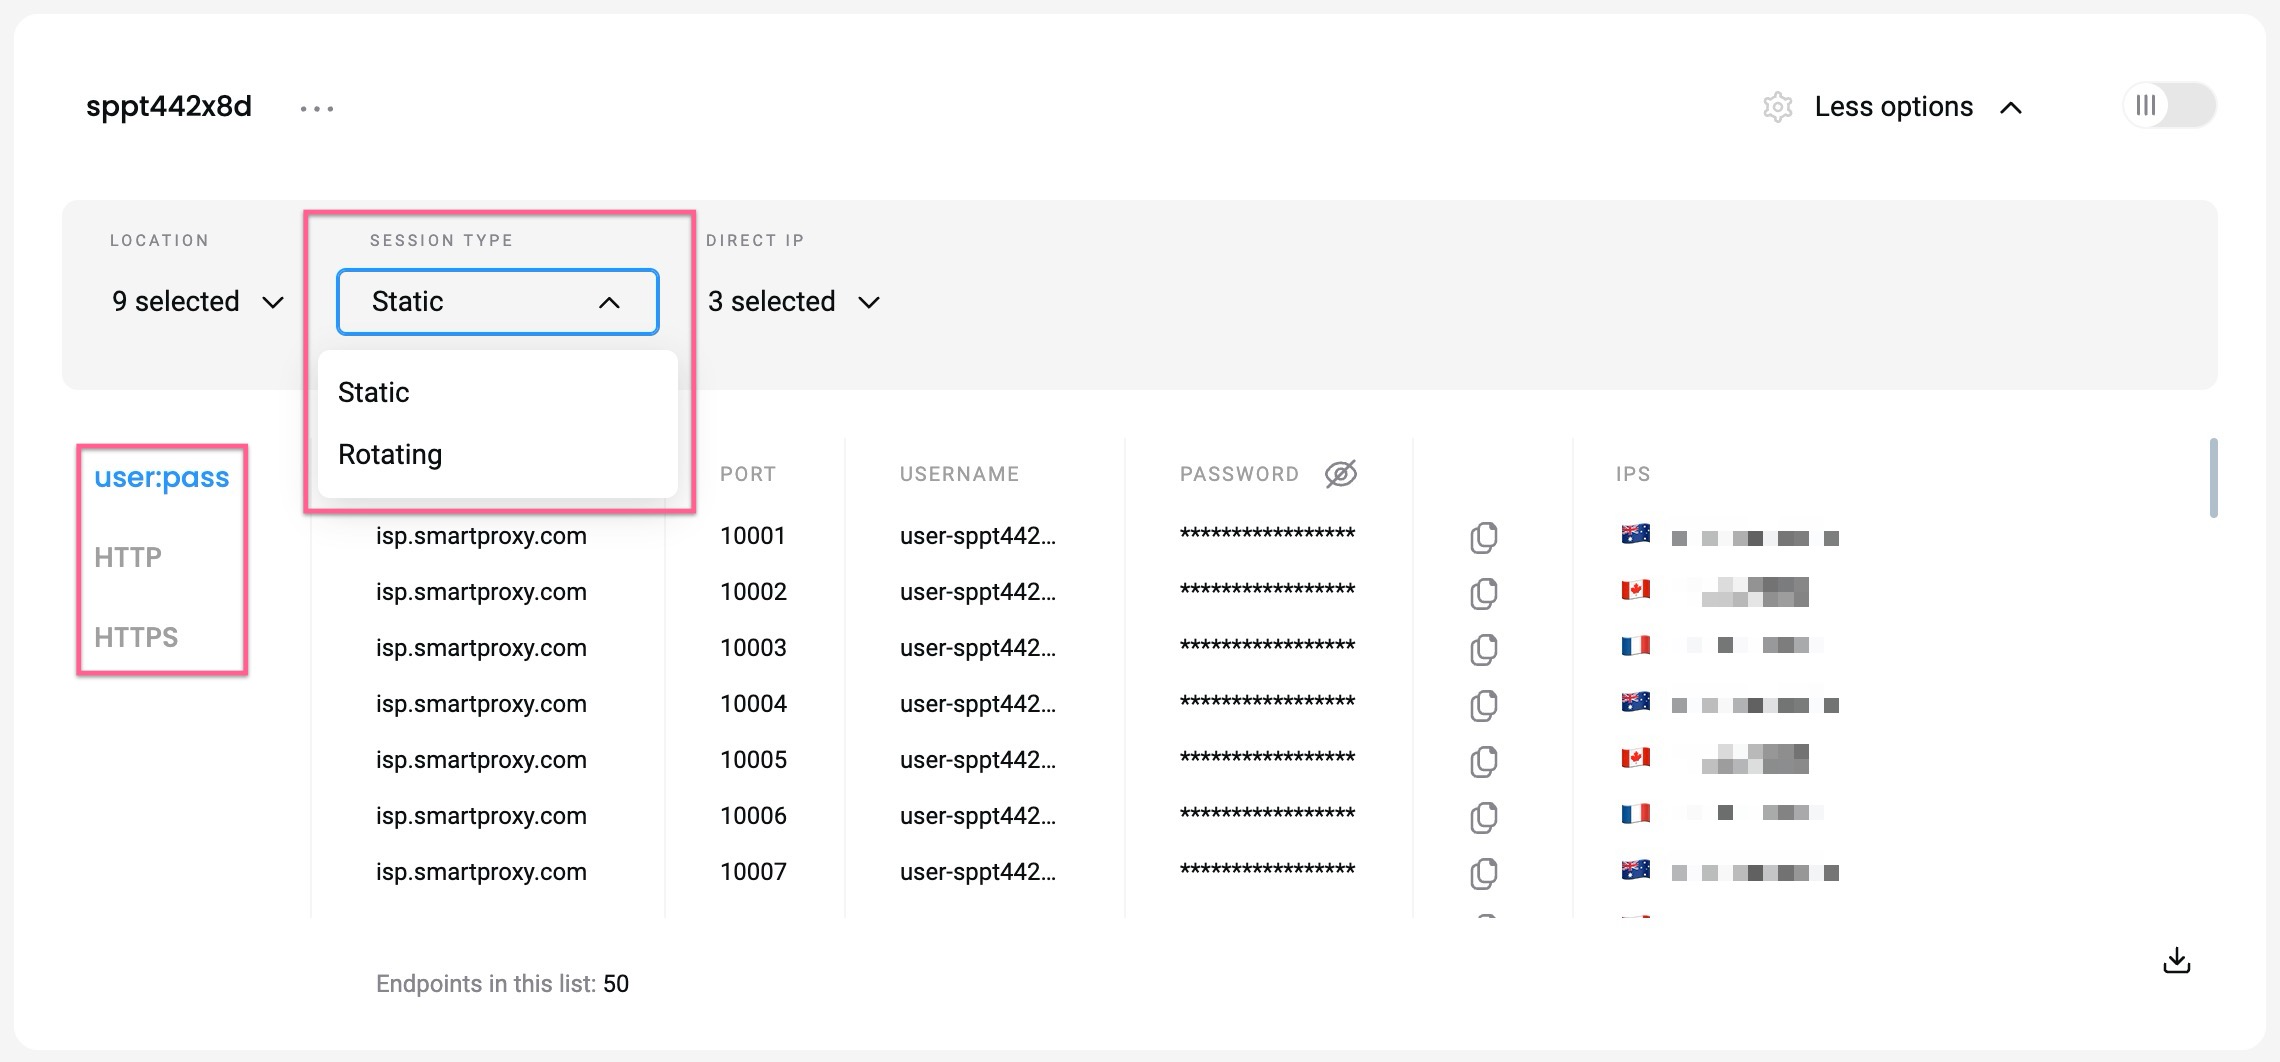
Session type and Protocol selection.
- You will see a proxy list of generated endpoints and ports based on your selection. You can download a
.csvor.txtfile of the created proxy list, or simply copy it to your clipboard.
Proxy list selection.
- Alternatively, you can copy single elements of the generated parameters, such as the Proxy Address, Port, Username, and Password, Proxy IP, or copy the entire example string.
- You can hide your password by clicking on the eye icon. It will not affect the copy & paste function.
- Click Switch View at the top right to display the entire parameter string.
Proxy list selection.
You can apply these ports and endpoints to any application or tool to start using proxies instantly.
Check out the quick guides in the Integrations overview section for the most popular tools.
Code examples
You can also test your proxies with code examples.
- You can select any of the available languages:
cURL,Python,NodeJS,PHP, orGO. - Click Copy in the bottom right corner for convenient pasting.
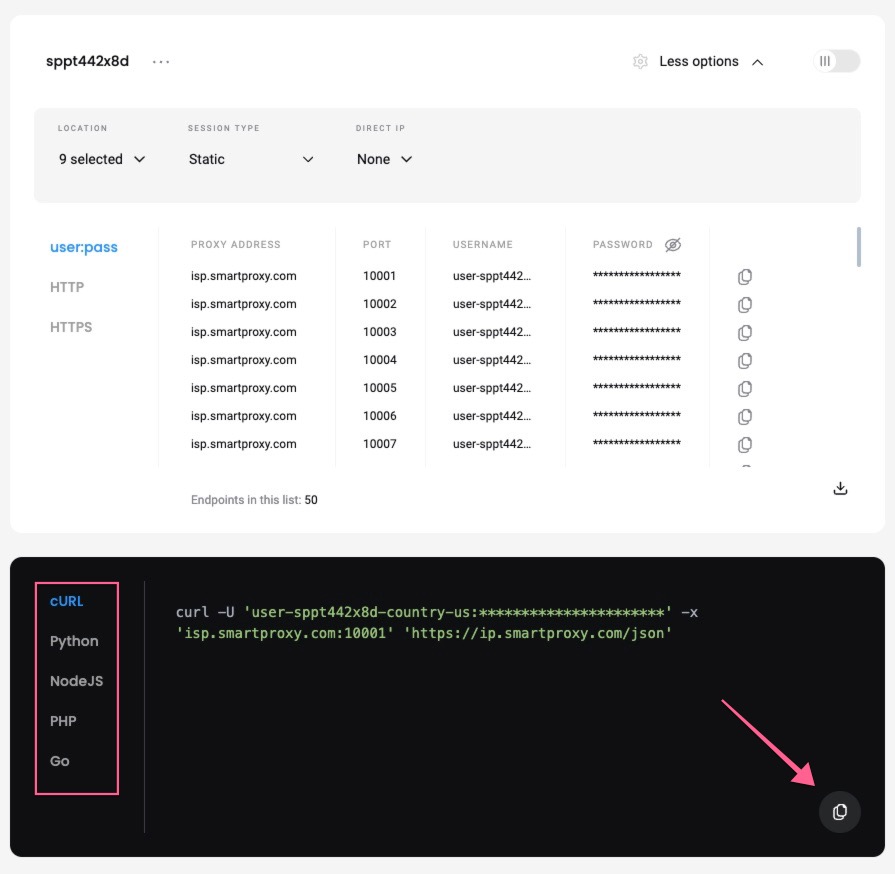
A cURL example.
GitHub
For any advanced code samples and middleware please visit our GitHub page.
Support
Need help or just want to say hello? Our customer support is available 24/7. You can also reach us anytime via email at [email protected].
Updated 3 months ago