No-Code Scraper Extension
What is No-code Scraper Extension?
No-code Scraper Extension is a data collection extension used to quickly gather data from any website with a simple point and click functionality.
No-code Scraper Extension features:
- One-click selection
- Collected data table preview
- Extracted data column naming
- Instant data export in JSON or CSV format
You can add No-code Scraper Extension to your browser by downloading it from the Chrome Web Store.
Something’s wrong? Contact [email protected].

Add No-code Scraper Extension to Chrome browser extensions
How to use No-code Scraper Extension?
To start using this extension, navigate to the top-right corner of your browser, and open it from the menu of the extension.
You can pin the extension to your browser to quickly access it later.
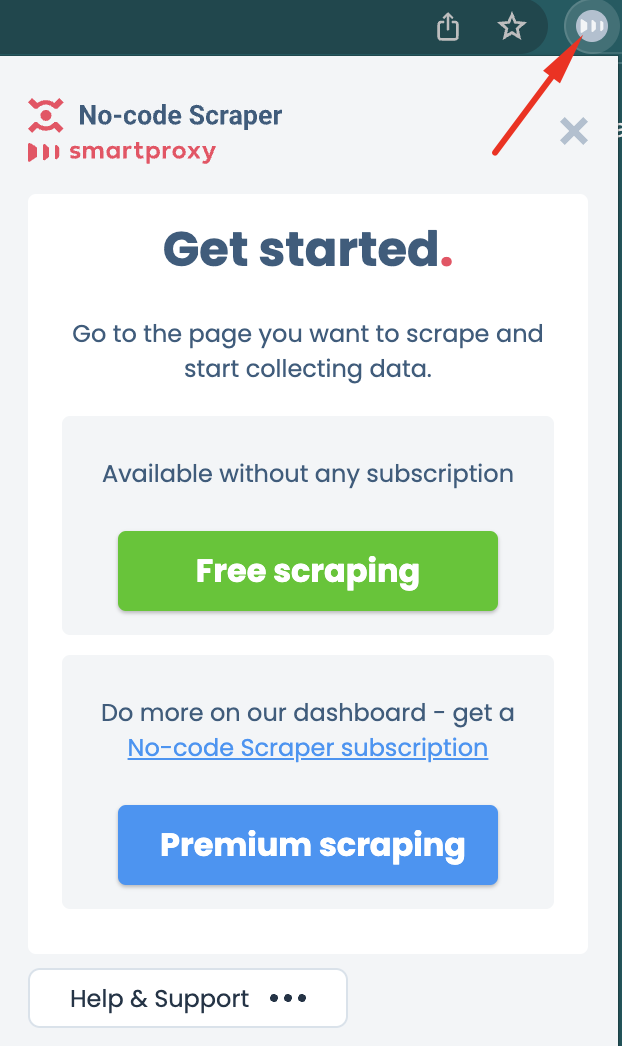
Open extension from the menu of the extension
Navigate to the page that you wish to start collecting data from and in the pop-up menu, click on the Free scraping button.
If you wish to schedule your scraping tasks, refer to No-code Scraper help document for information.
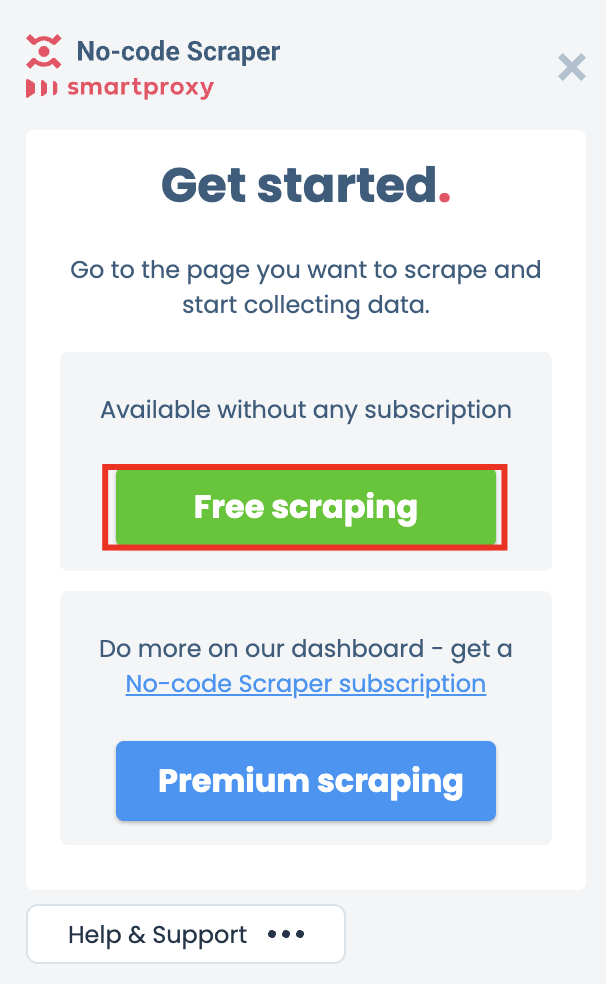
Start scraper from the pop-up
A toolbar will open at the bottom of your browser. This modal is used to present, download, and clear selected data.

Main extension toolbar
To start collecting data, hover over the item you need. Once you click on it, our selector will automatically include all the elements of the same type.
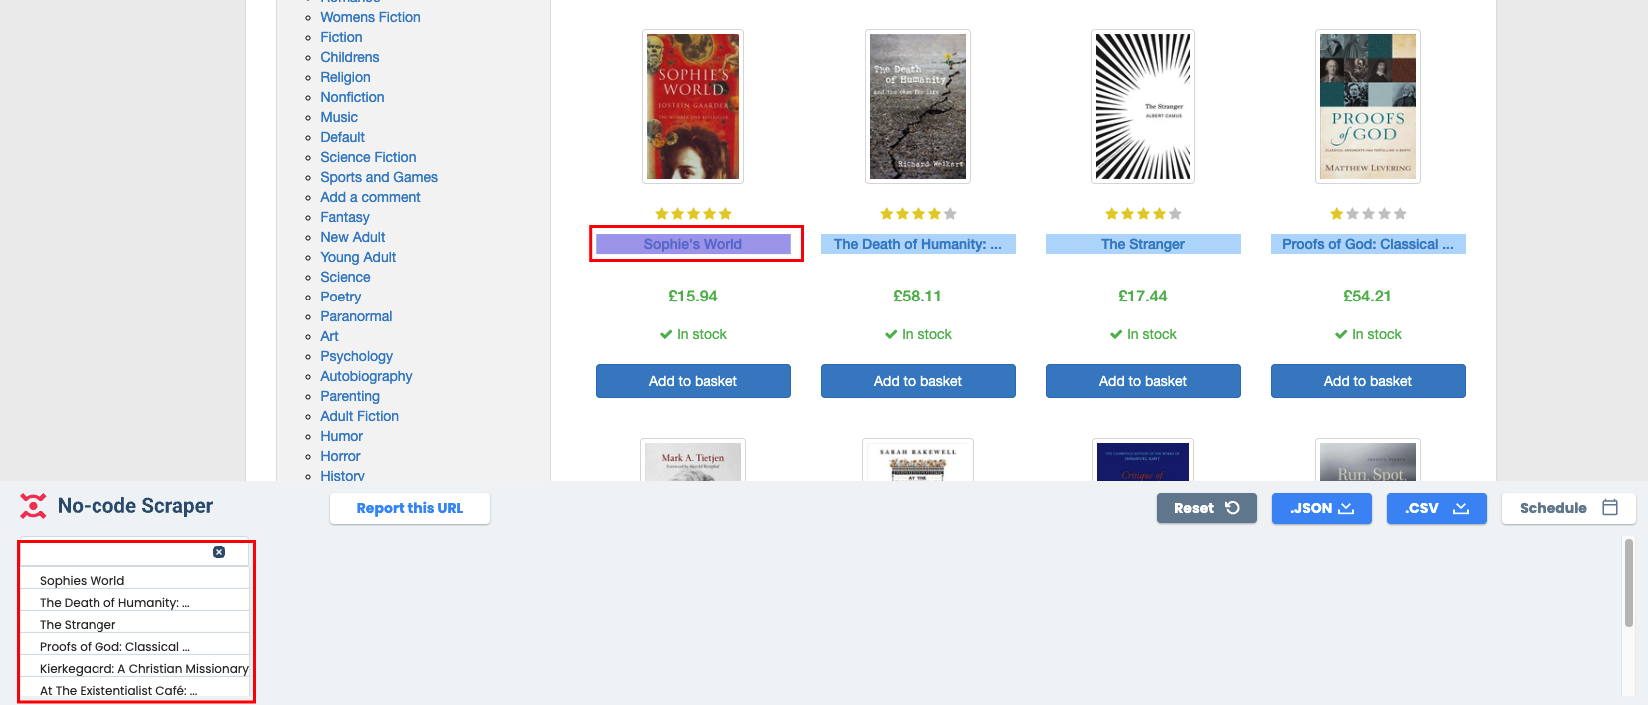
Select data with a simple click
You can name all columns in the table to provide more context for the data you select.
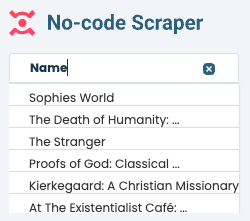
Change the column title by clicking on the empty space at the top of the column
Once you finish selecting, you can extract this data by clicking on one of the download buttons, depending on the format you wish to have your data in.
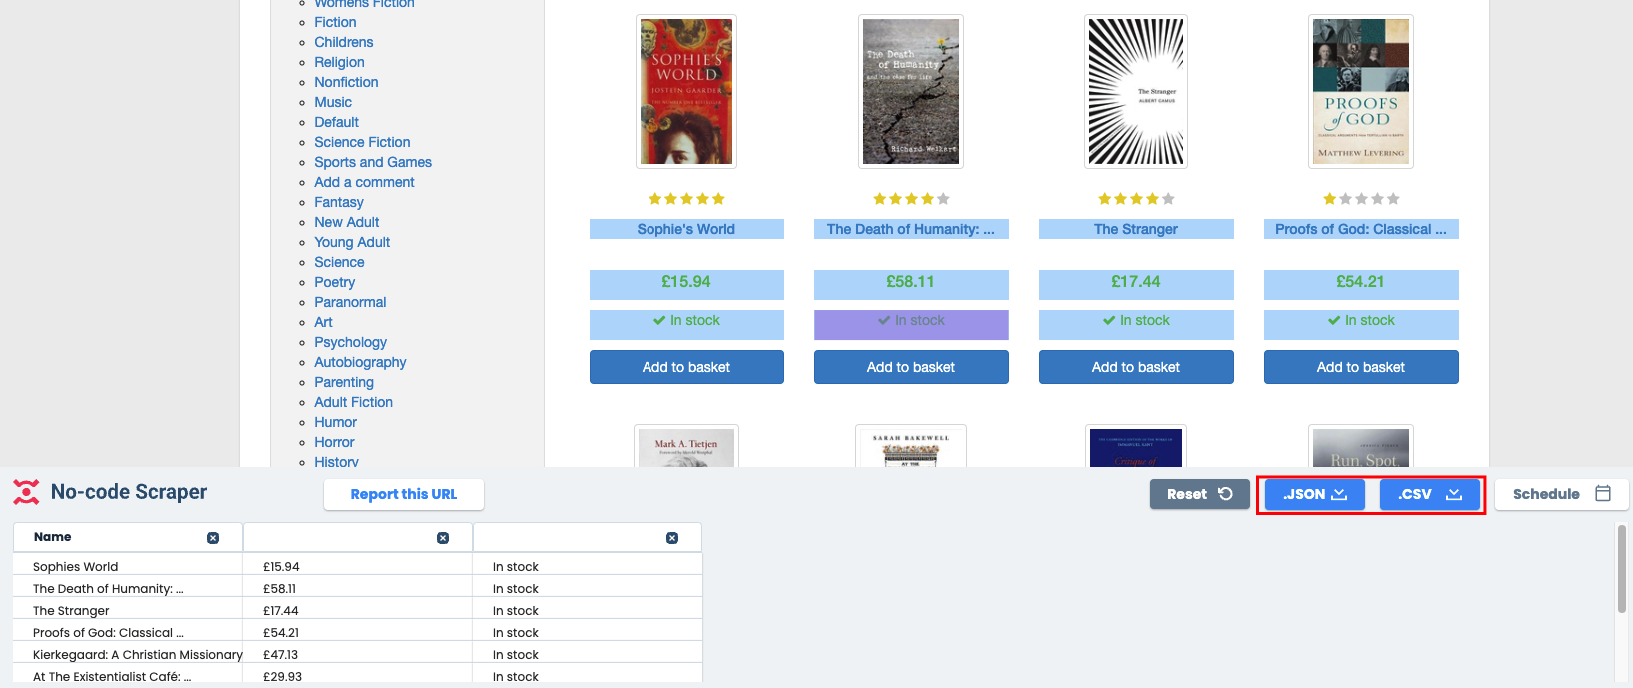
Download selected data in .JSON or .CSV format
You can stop the scraping process at any time by opening the extension pop-up again and clicking on the Stop scraper button.
Note that you should first download the selected data before doing so.
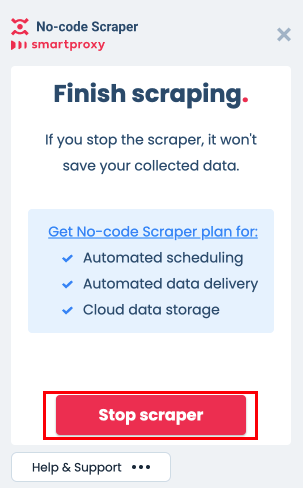
Finish scraping from the pop-up window
Integrations
Zapier
You can easily integrate the No-code Scraper with Zapier using webhook. This guide will show you how.
- In the Zapier dashboard, navigate to Zaps and select Create Zap
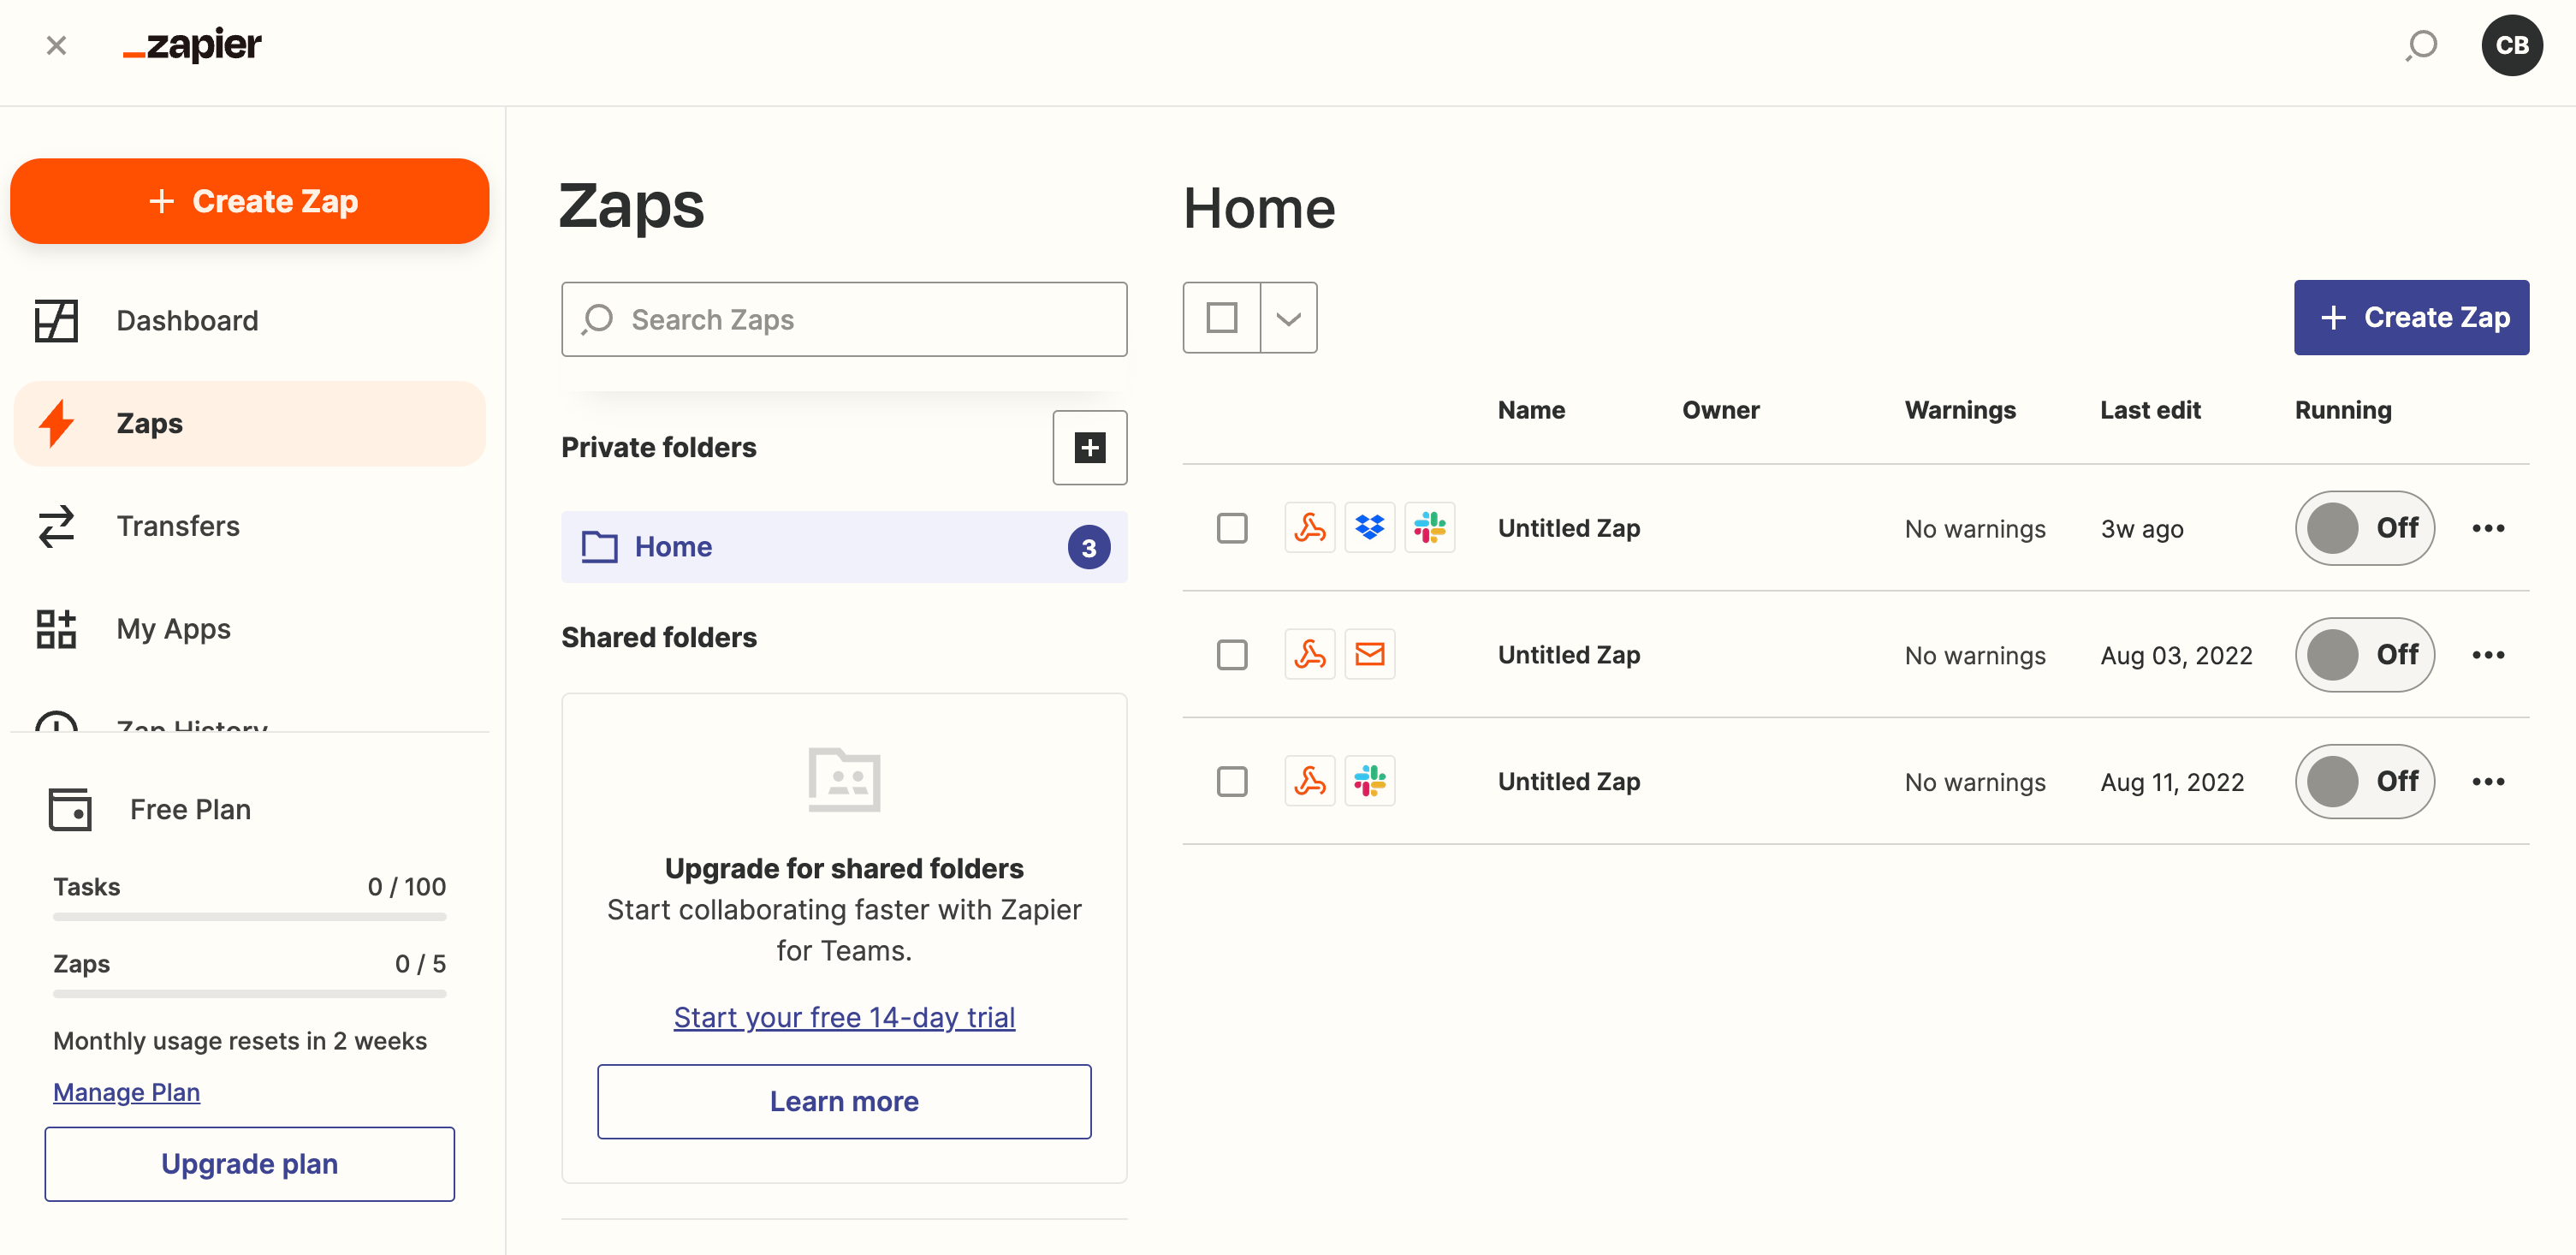
Create Zap
- In trigger selection, select Webhooks by Zapier. Note that you’ll need a paid Zapier account to use this trigger.
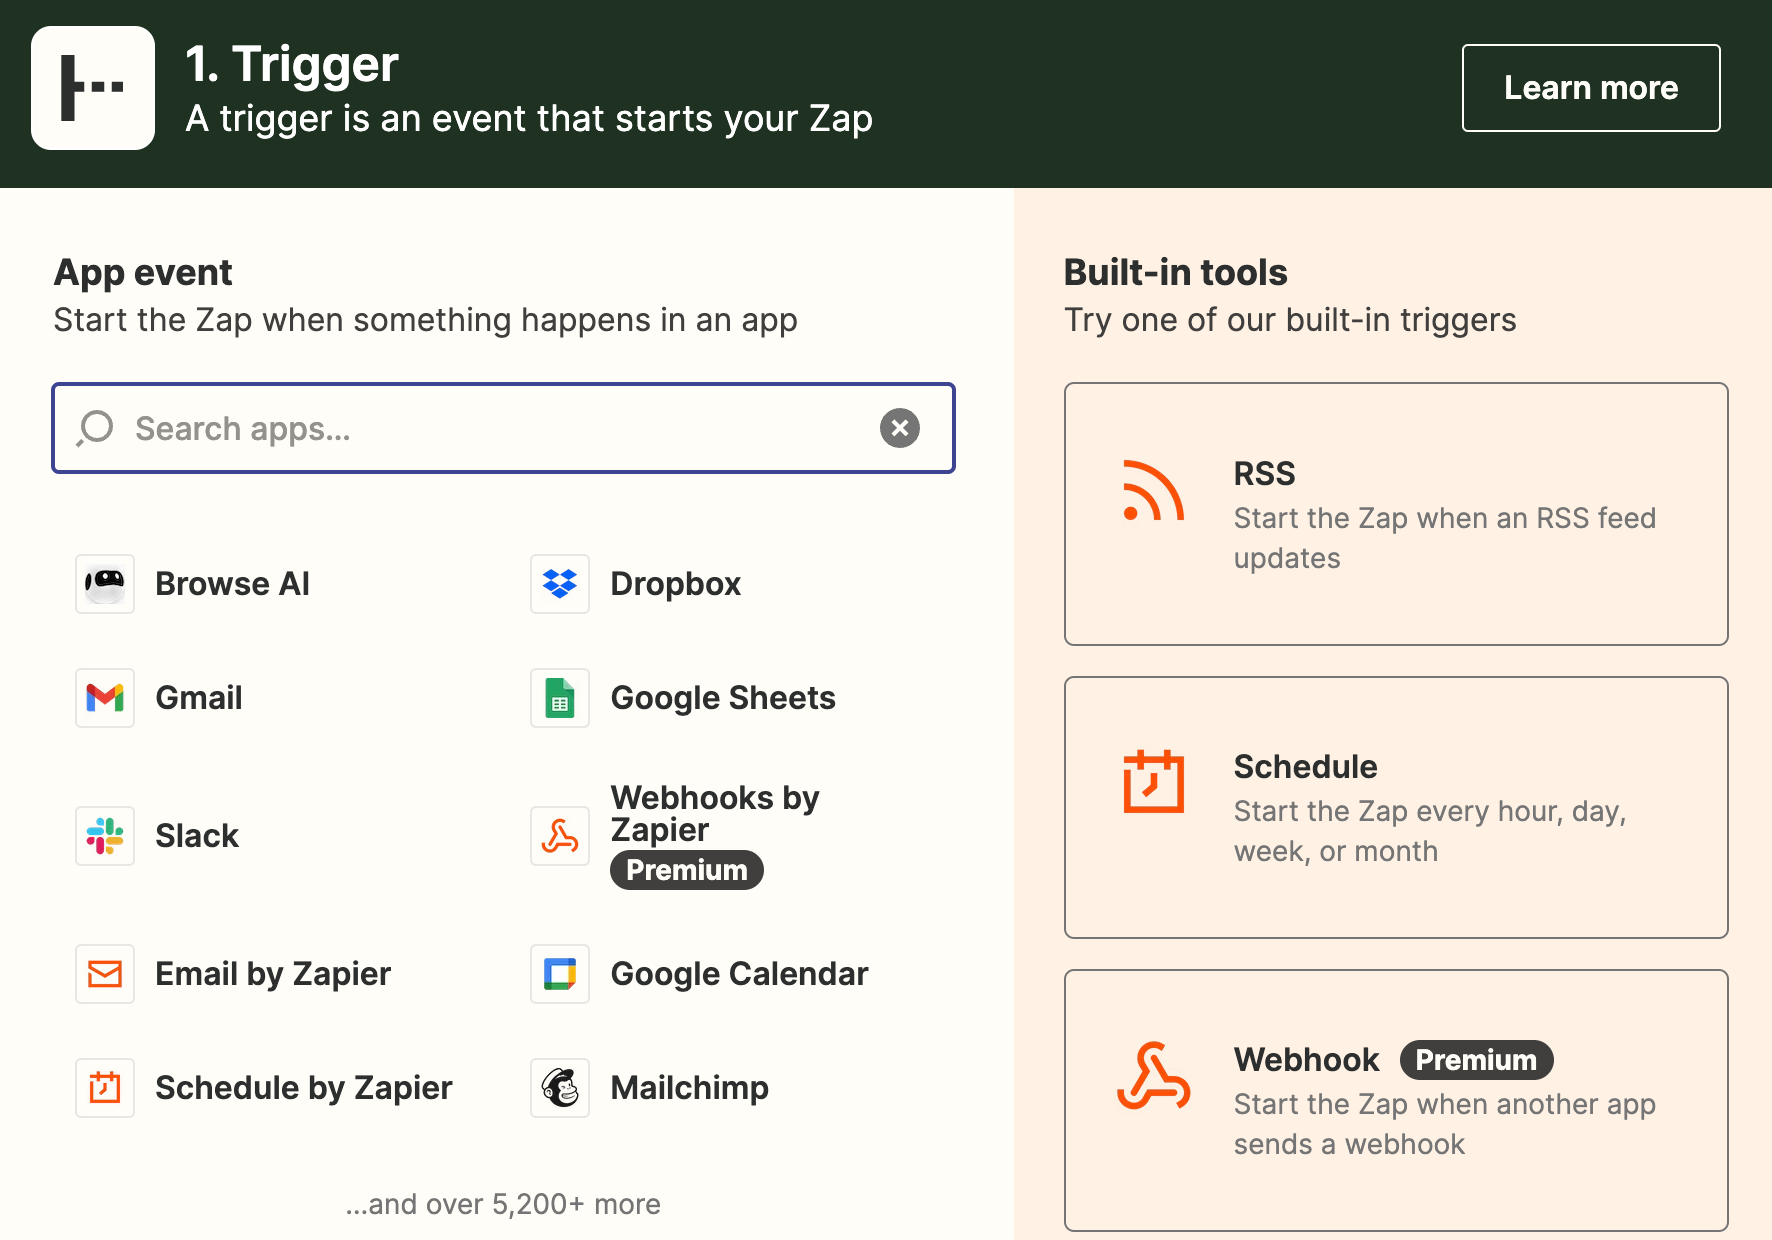
Select Webhooks by Zapier
- Select Catch Hook as the event. Alternatively, you can choose Raw Hook if you want the JSON unparsed.
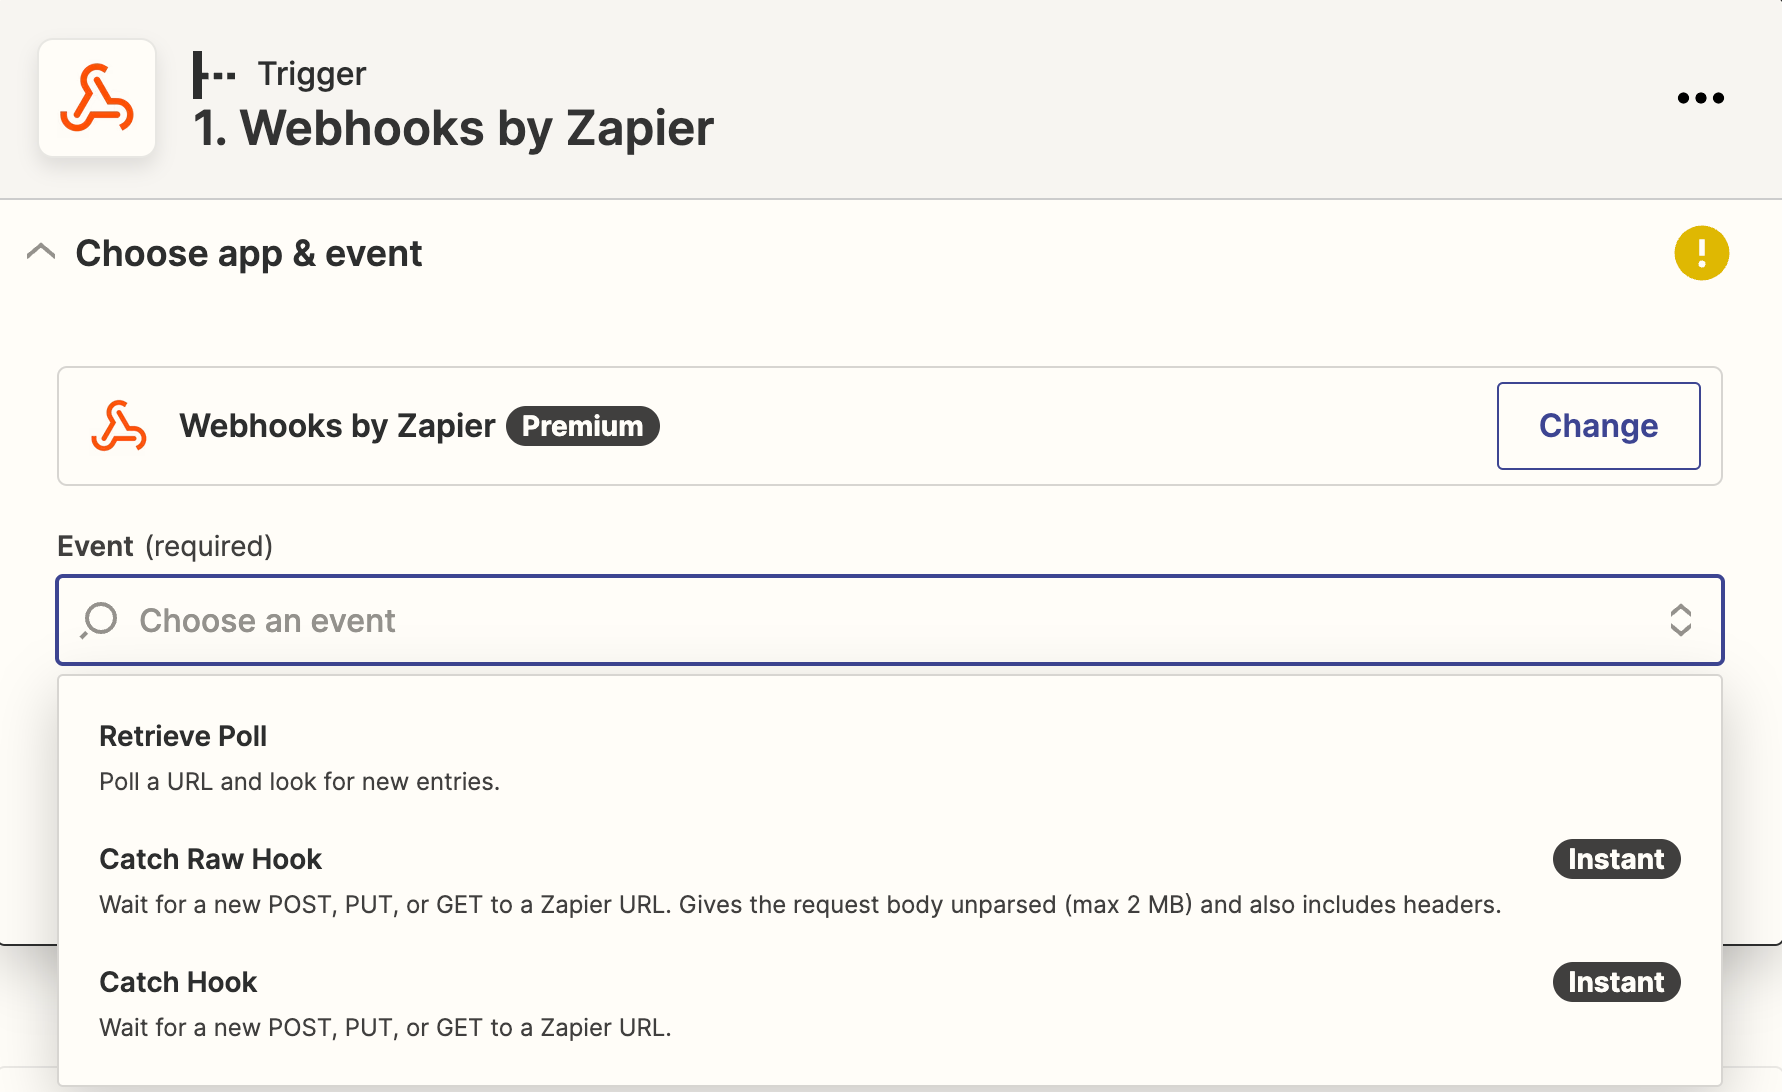
Select Catch Hook as the event
- You can further choose to extract only specific data points from the JSON file. If you don’t need that, simply leave the field empty and select Continue.
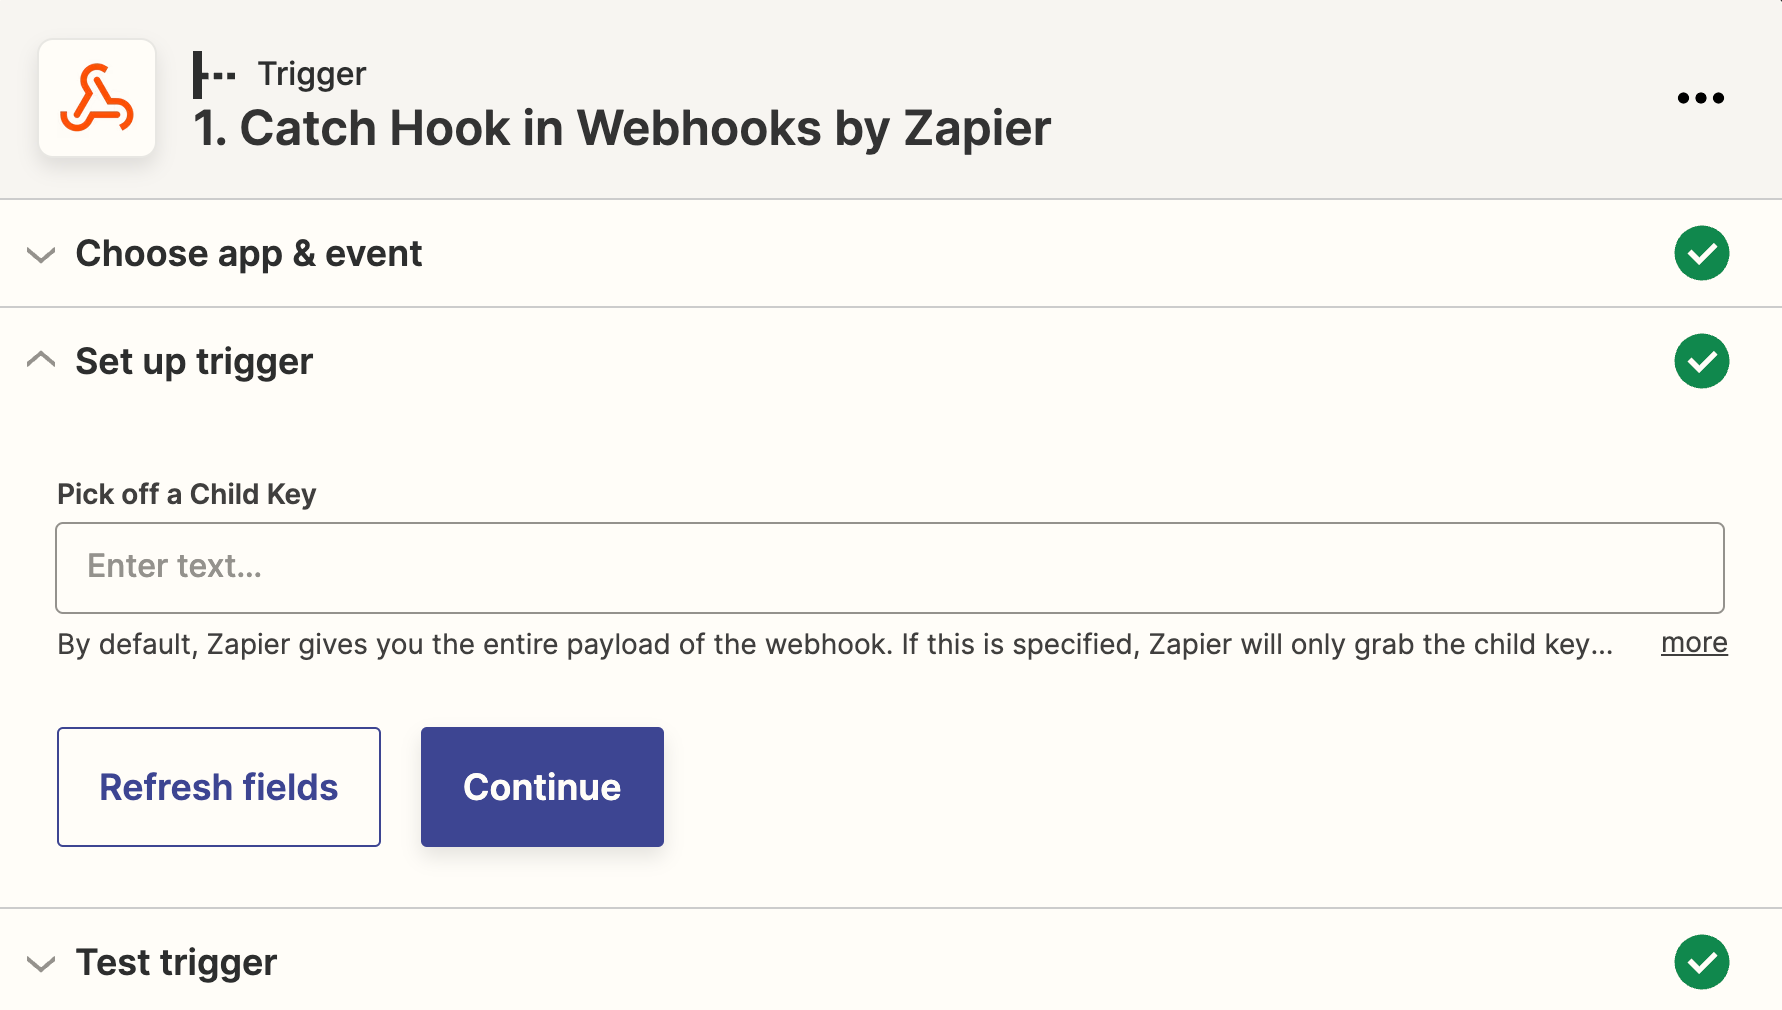
You can choose other settings and select Continue.
- Zapier will generate a webhook URL. Copy it.

Copy the webhook URL
- In your Smartproxy collection, select Webhook as the data storage type and paste in the webhook URL

Paste the webhook URL in the Smartproxy collection.
- Once the collection runs a web scraping job and the data arrives at Zapier, select Continue and proceed with your desired integration.
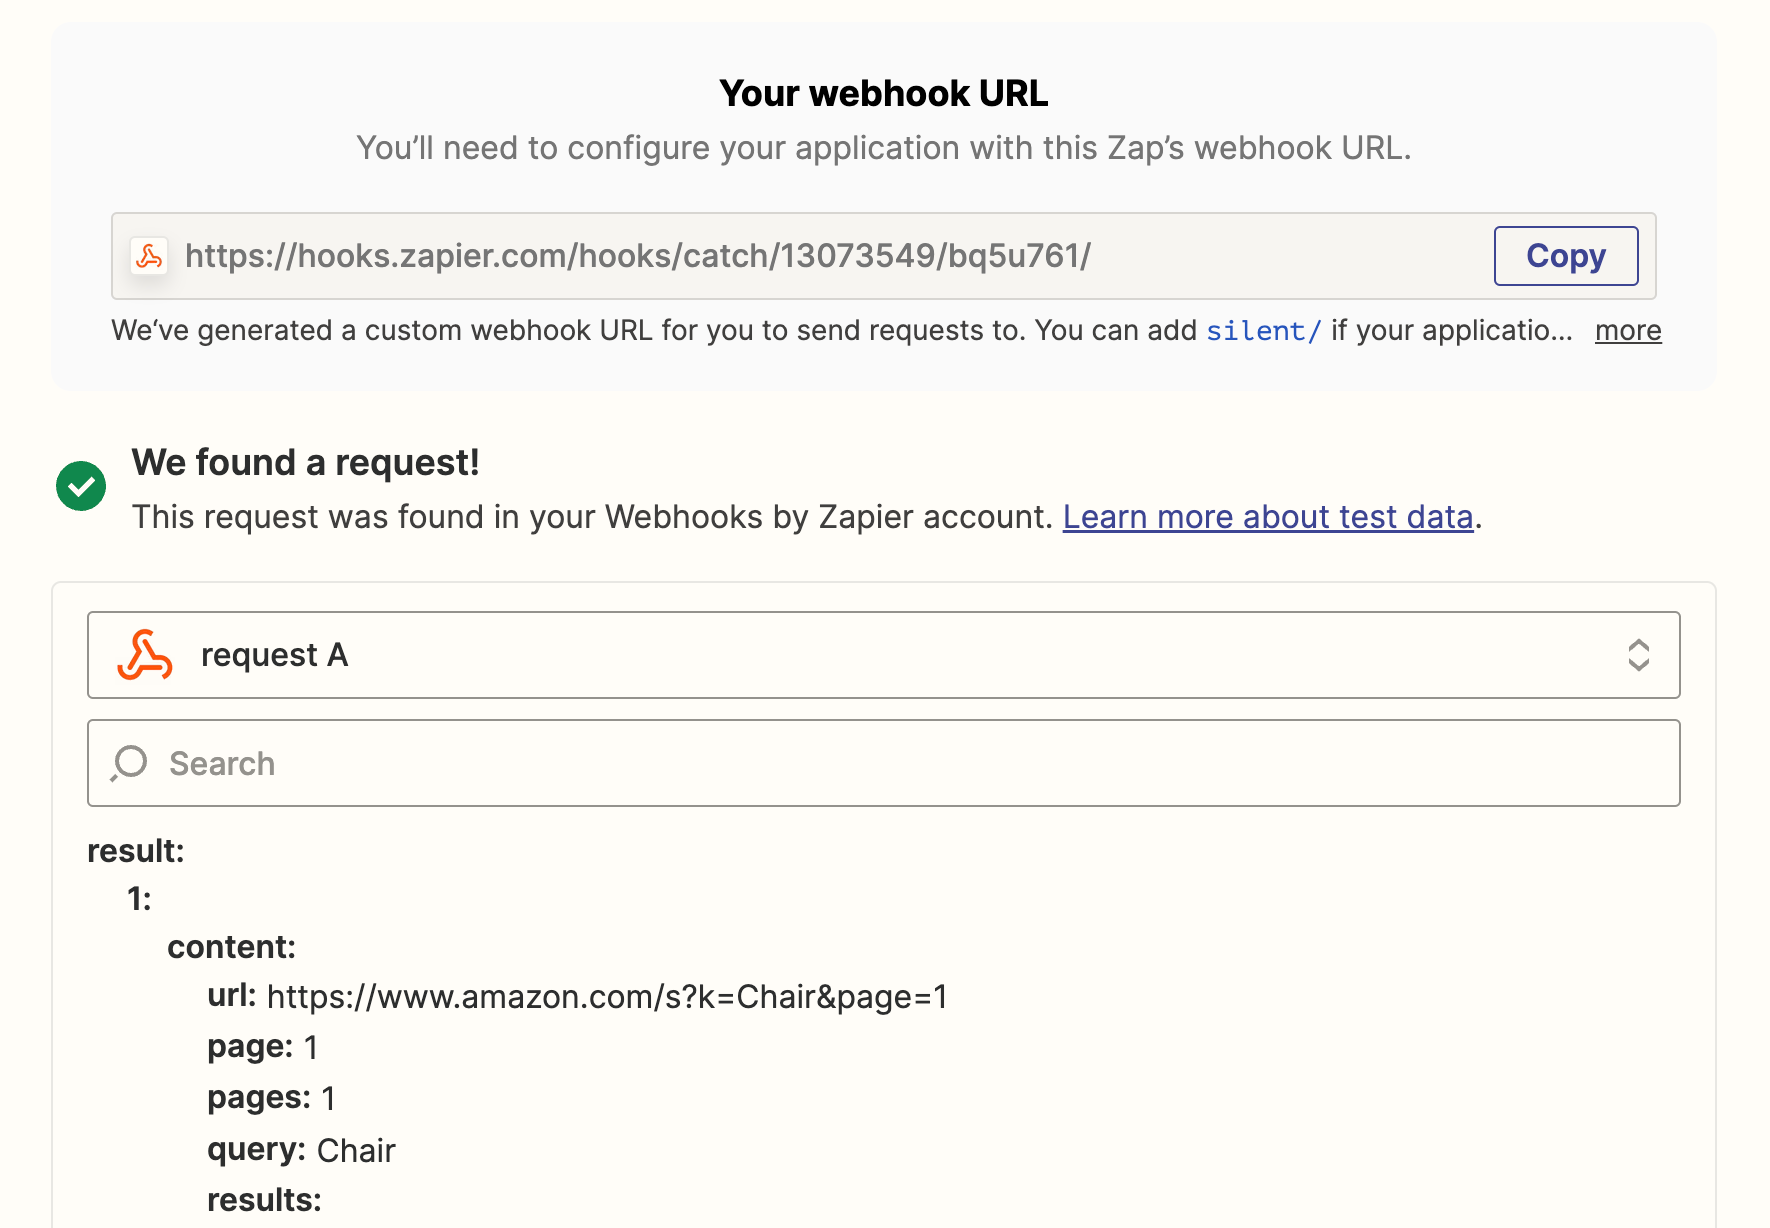
Once the data arrives at Zapier, select Continue and proceed with your integration.
Pipedream
You can easily integrate the No-code Scraper with Pipedream using webhook. This guide will show you how.
- In the Pipedream dashboard, navigate to Workflows and select New.

Navigate to Workflows and select New.
- Select New HTTP / Webhook Requests
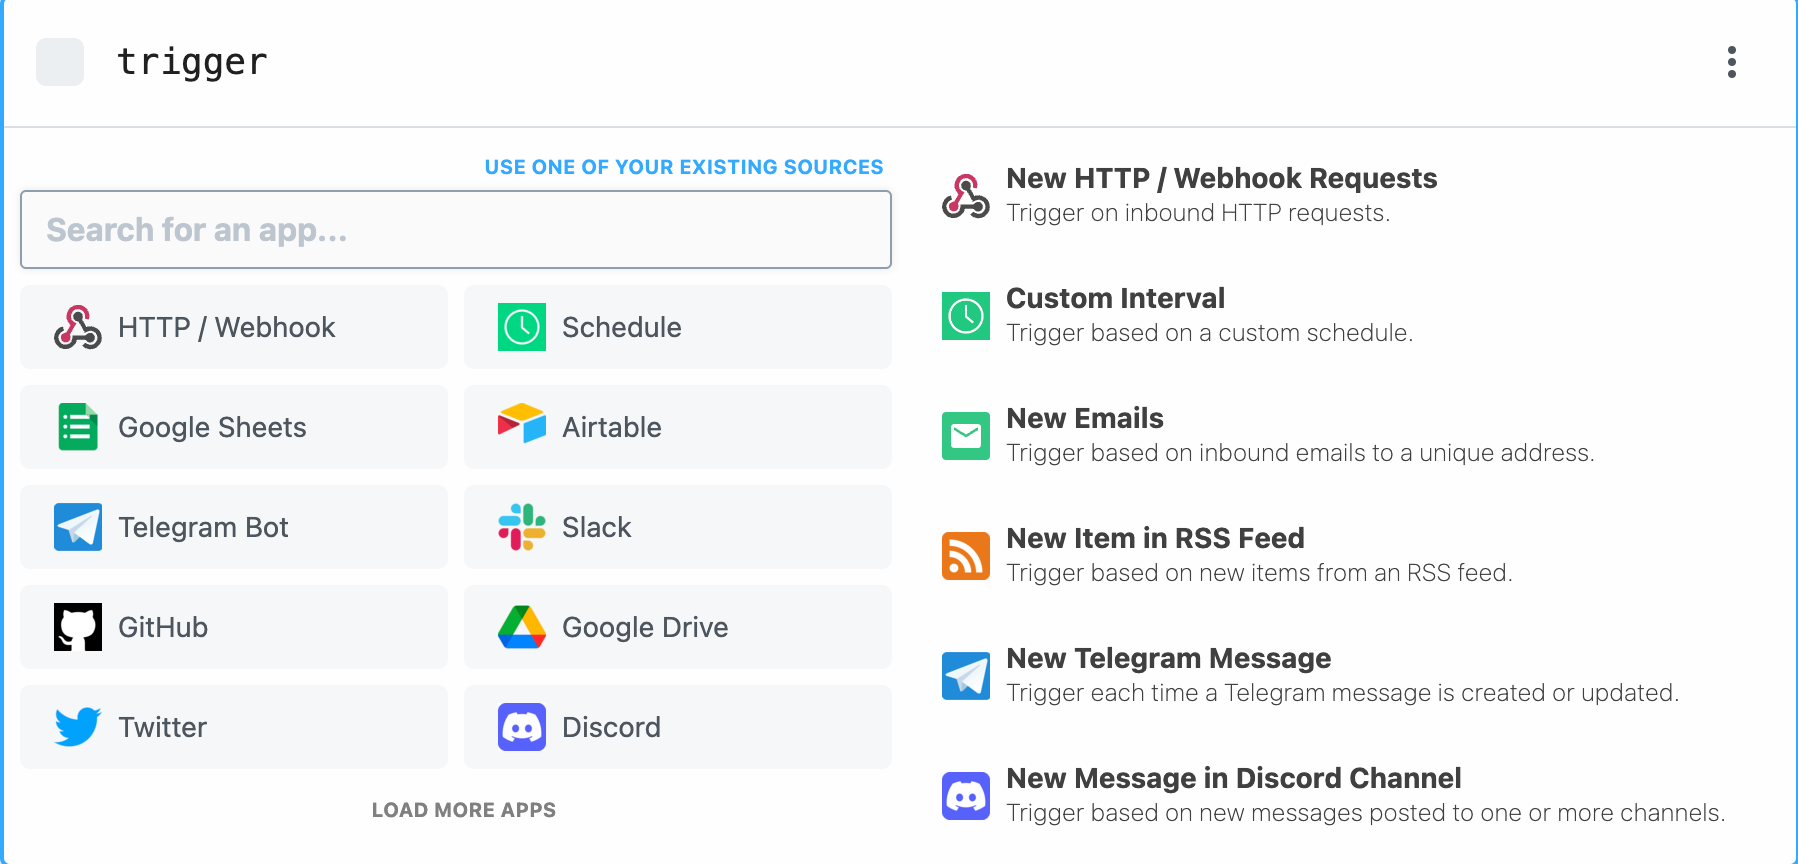
Select New HTTP / Webhook Requests.
- Click the Save and continue button.
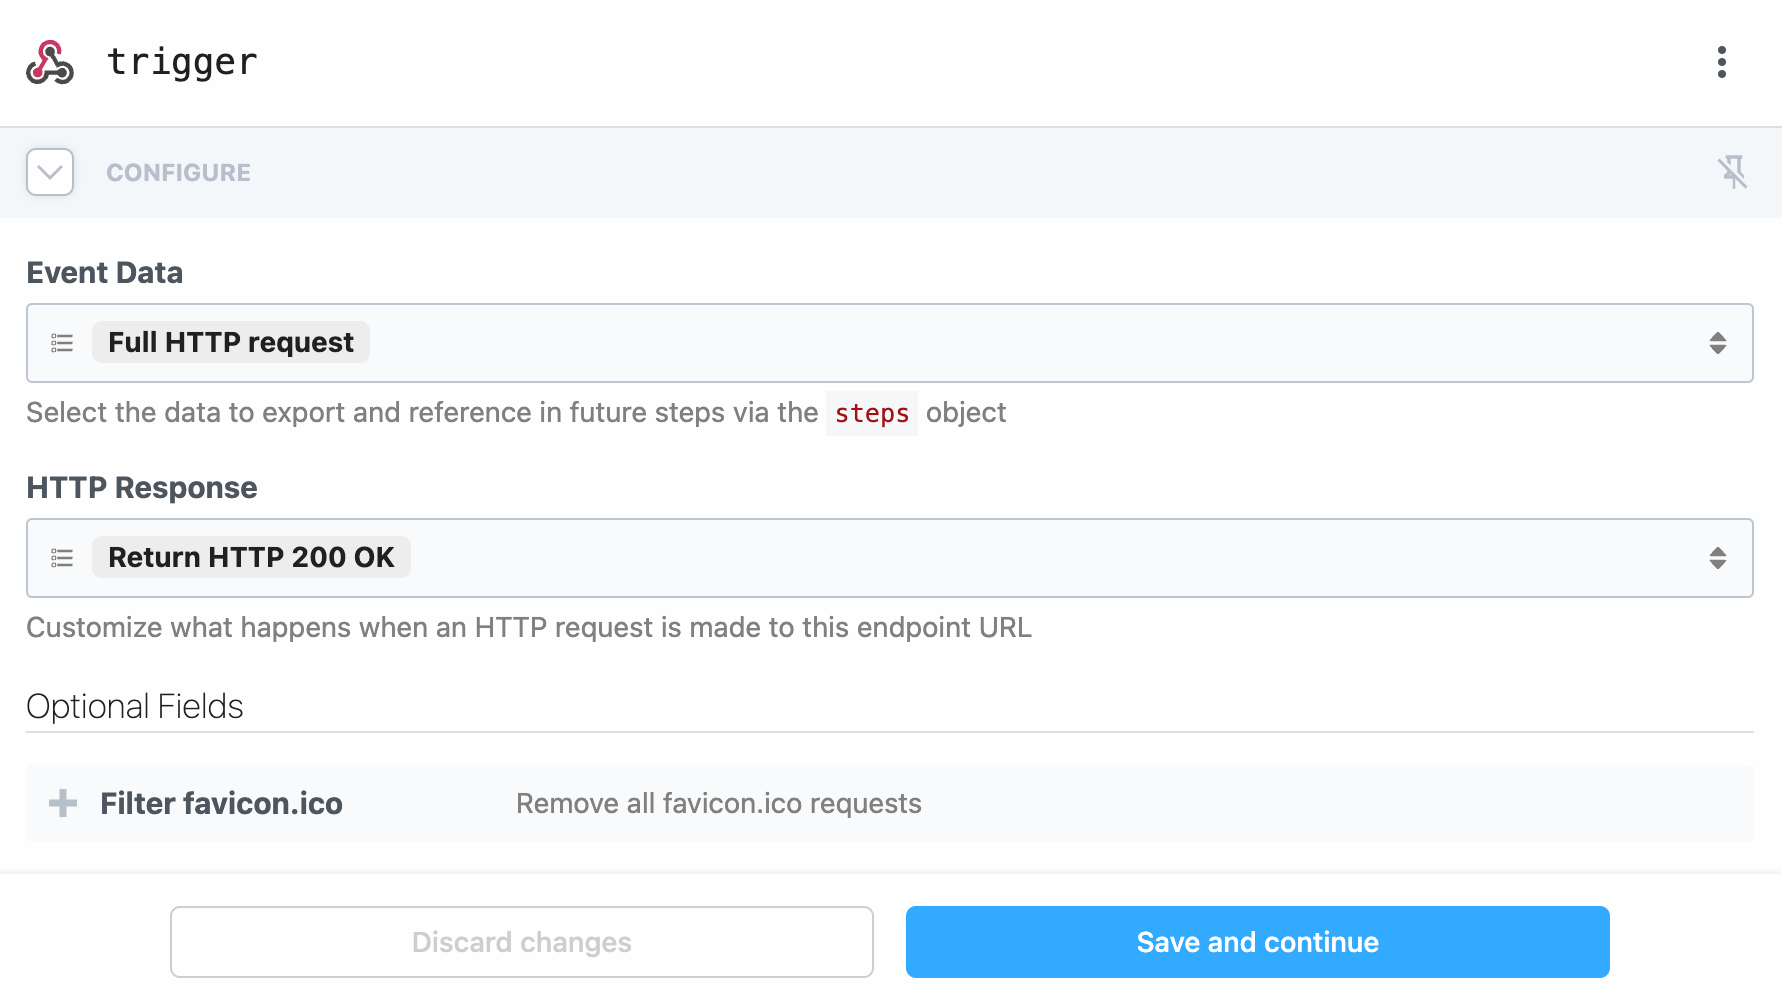
Select Save and continue.
- This will generate a webhook URL. Copy it.
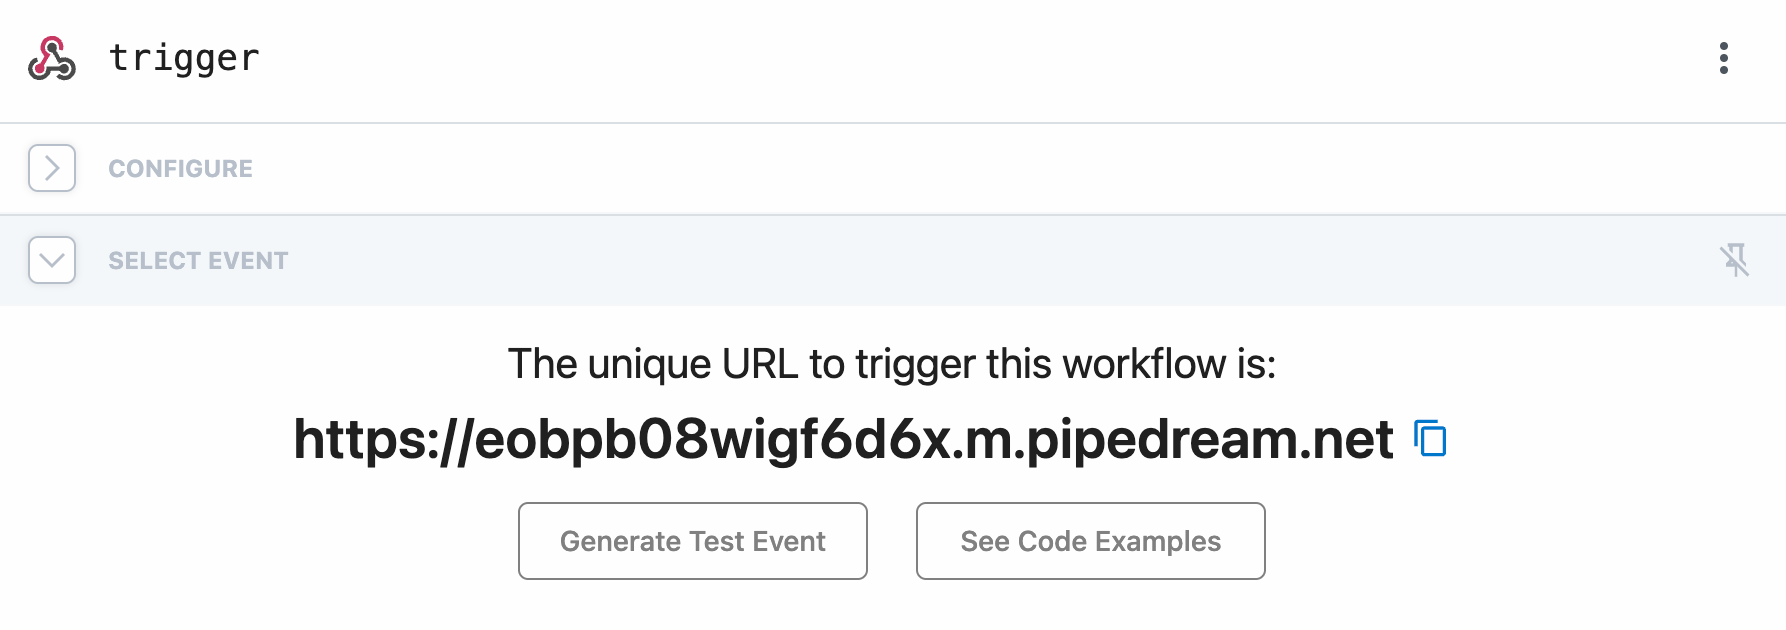
Copy the webhook URL.
- In your Smartproxy collection, select Webhook as the data storage type and paste the webhook URL.

Paste the webhook URL in the Smartproxy collection.
- Once the collection runs a web scraping job and the data arrives at Pipedream, select Continue and proceed with your integration.
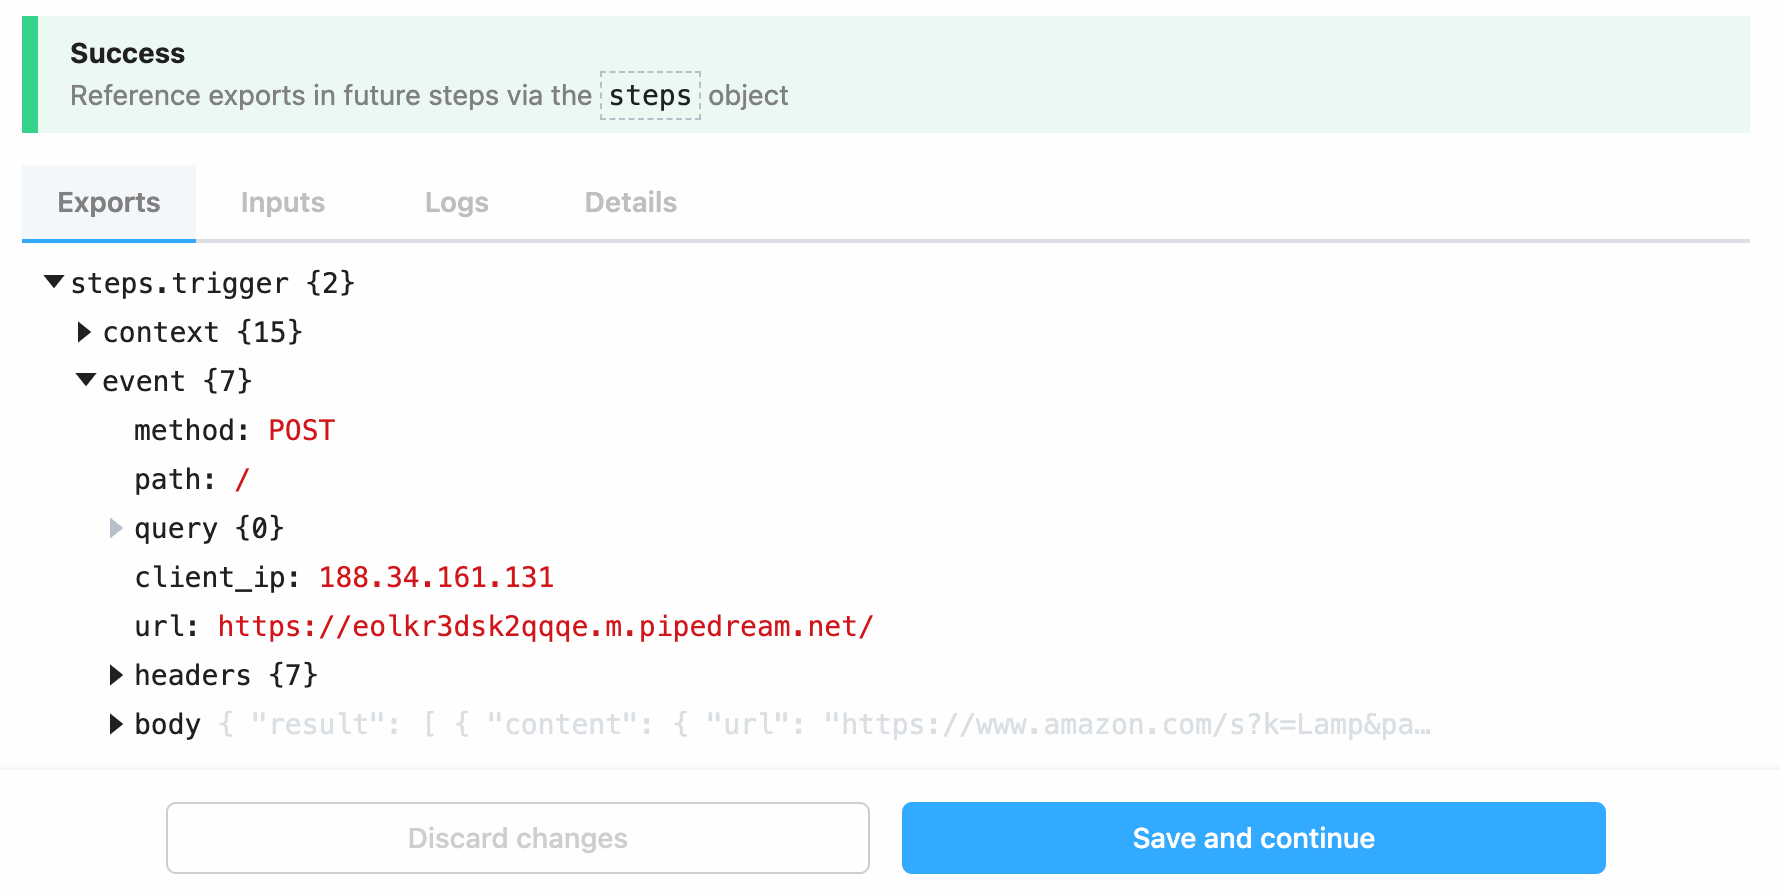
Once the data arrives at Pipedream, select Continue and proceed with your integration.
Make
You can easily integrate the No-code Scraper with Make using webhooks. This guide will show you how.
- In Make’s dashboard navigate to Scenarios and select Create a new scenario.
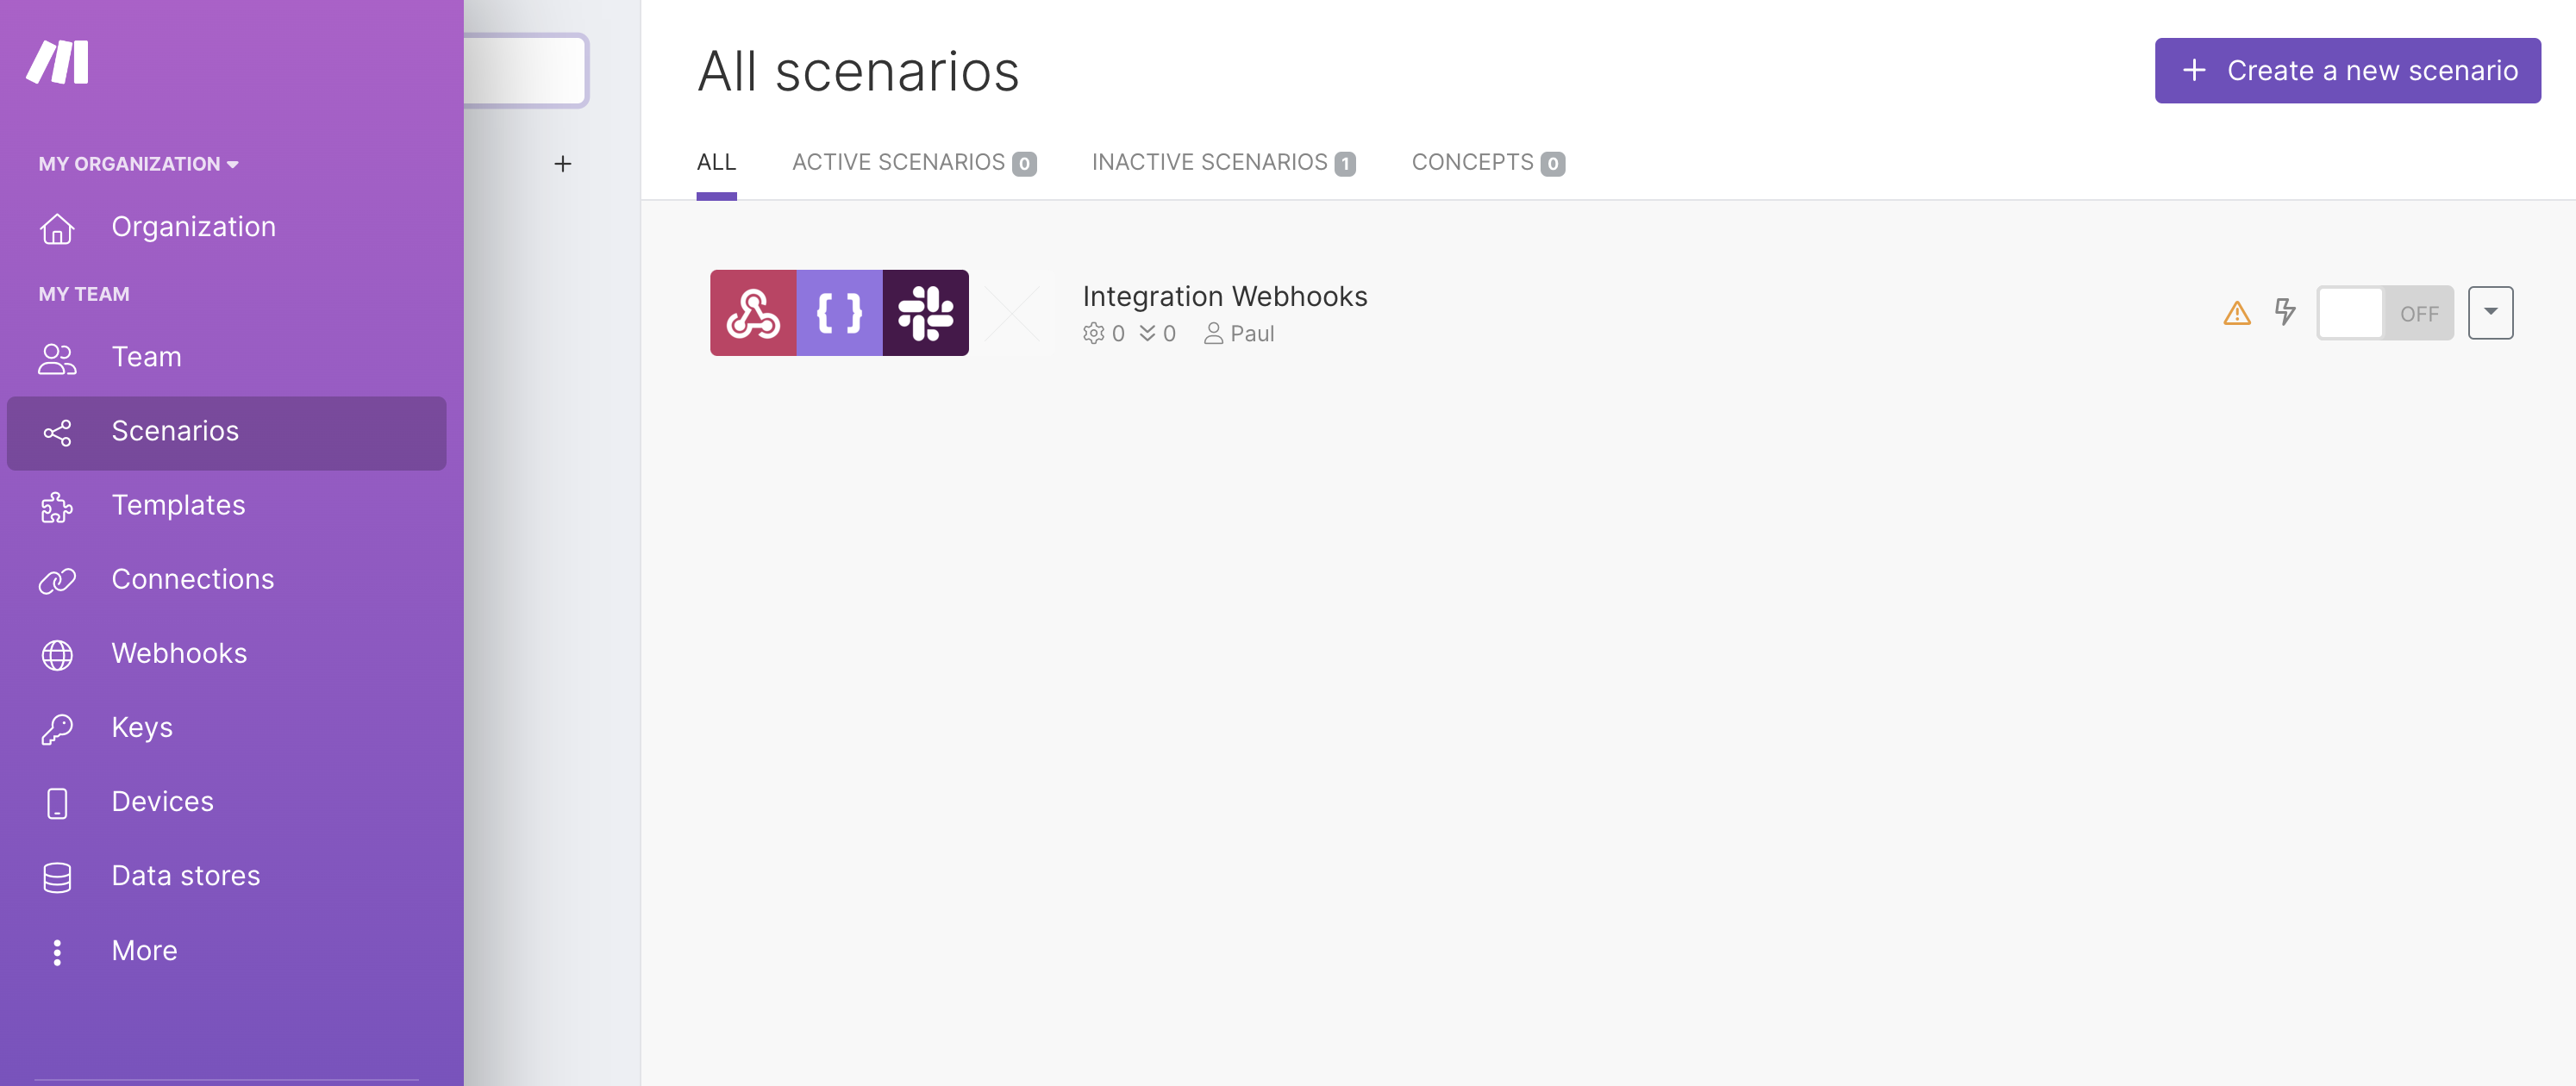
Create a new scenario.
- Select the + icon and search for Webhooks.
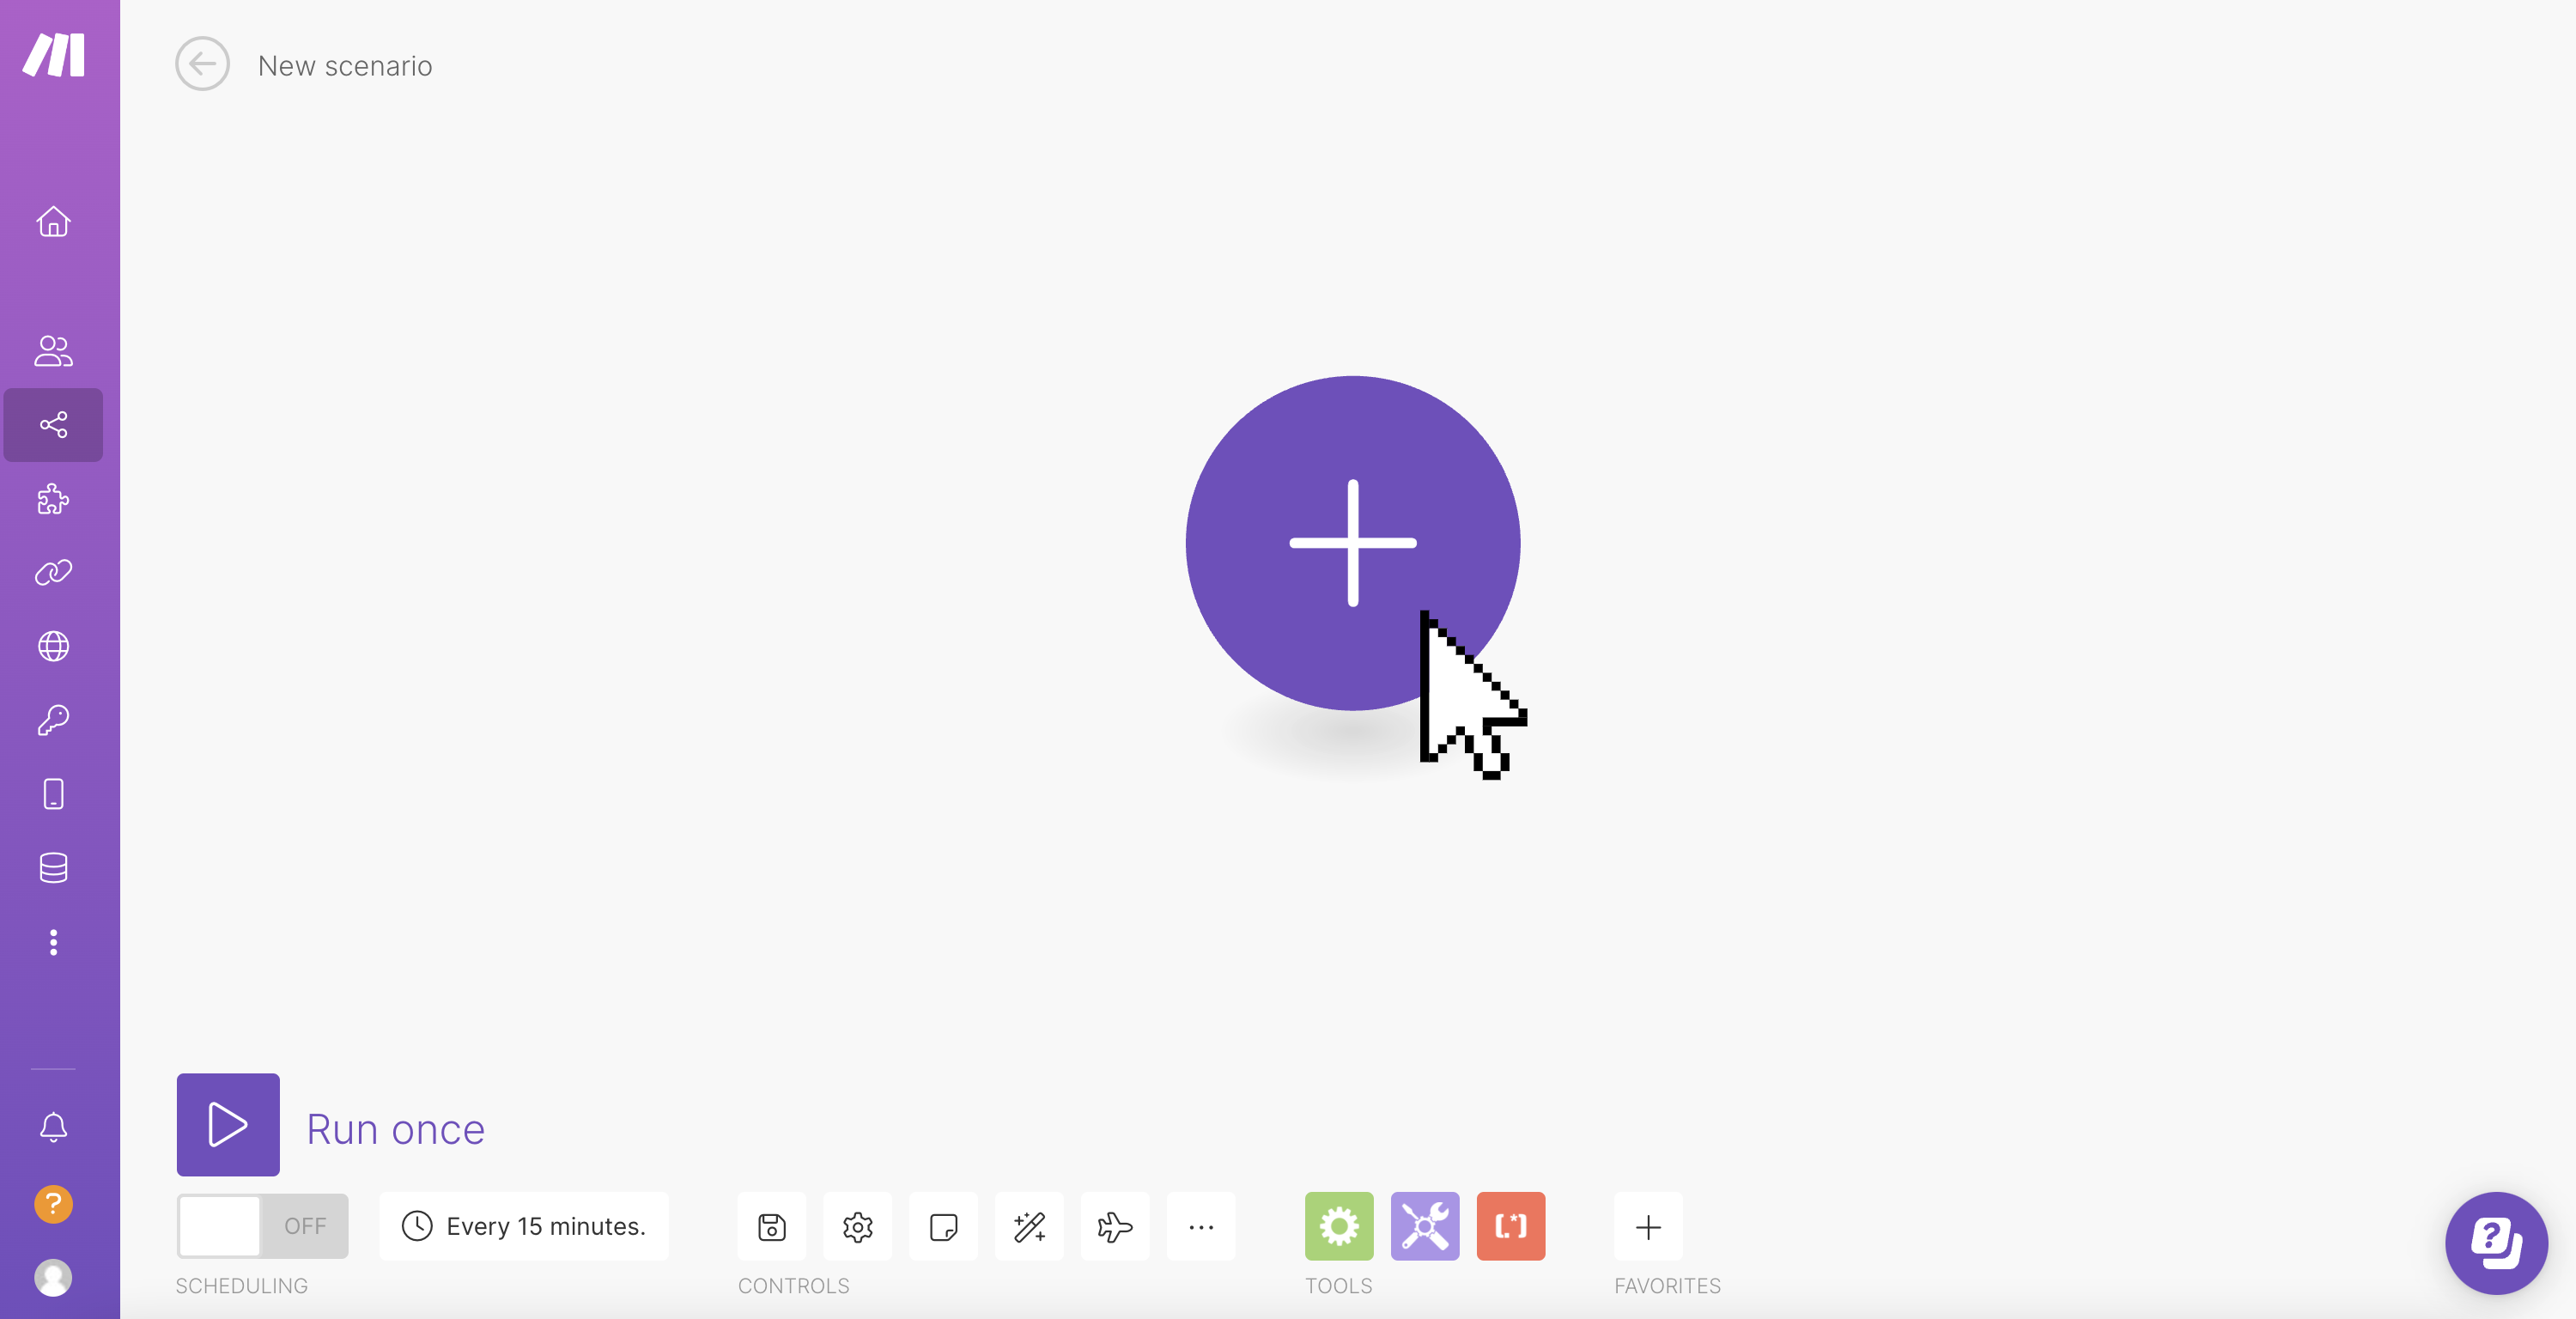
Search for Webhooks.
- Select Custom webhook
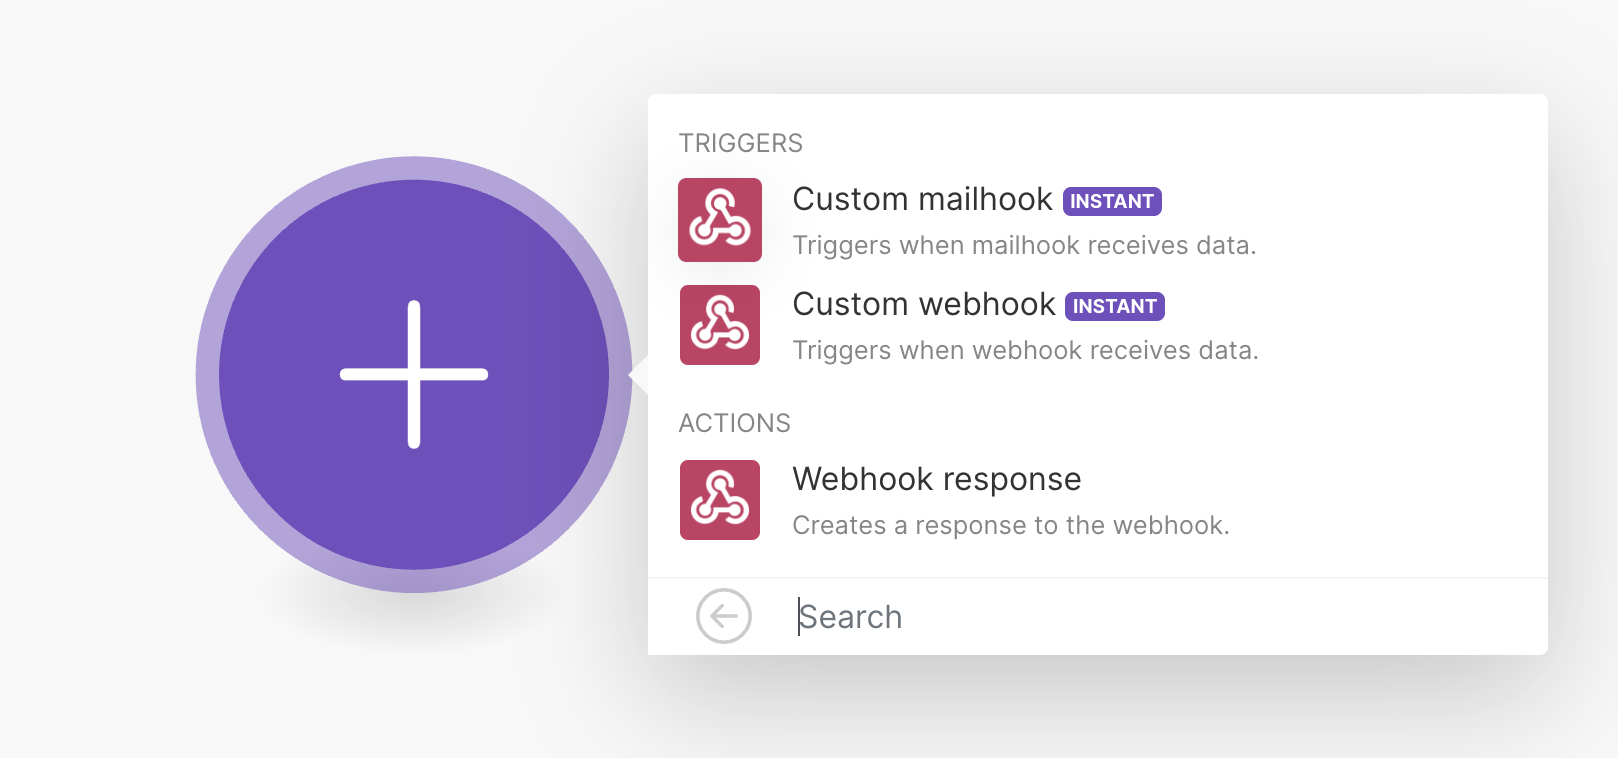
Select Custom webhook.
- Select Add
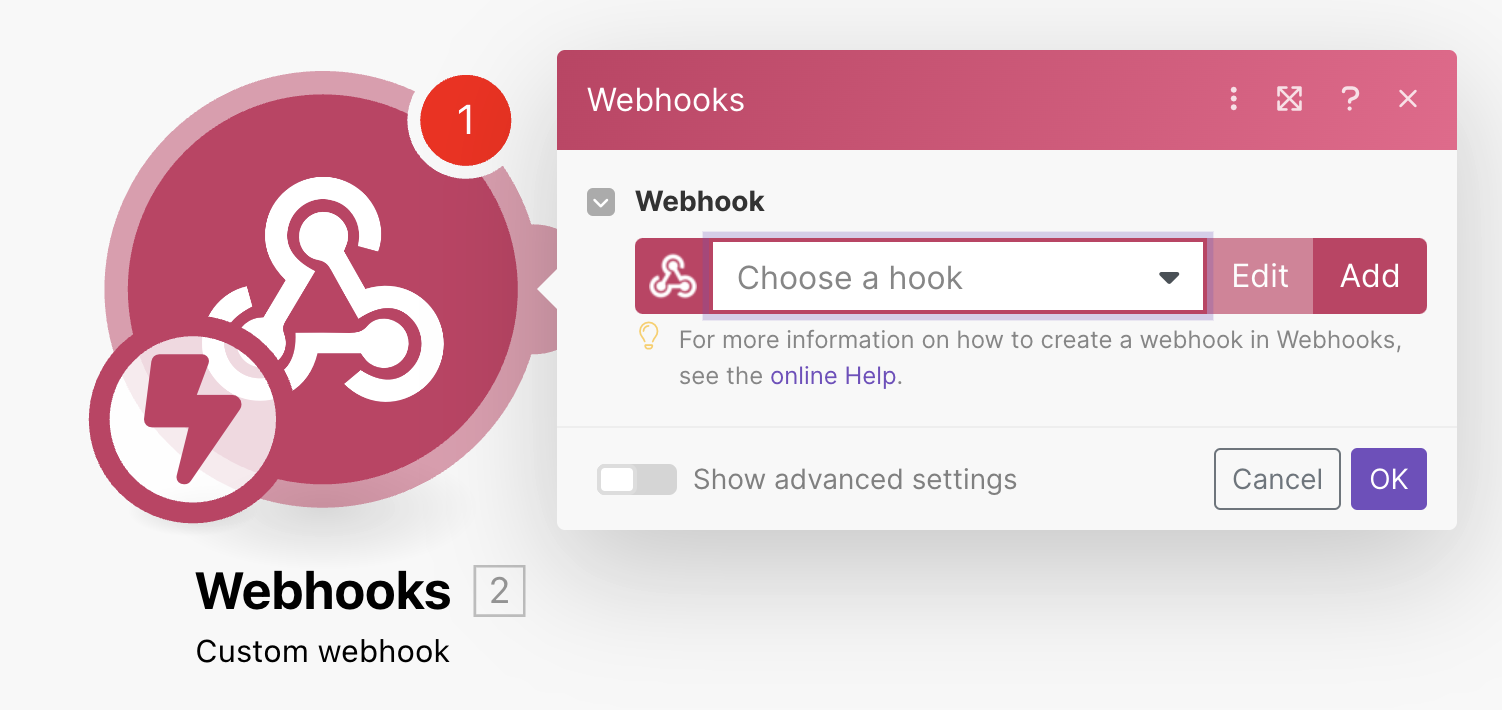
Select Add.
- Give it a name and select Save
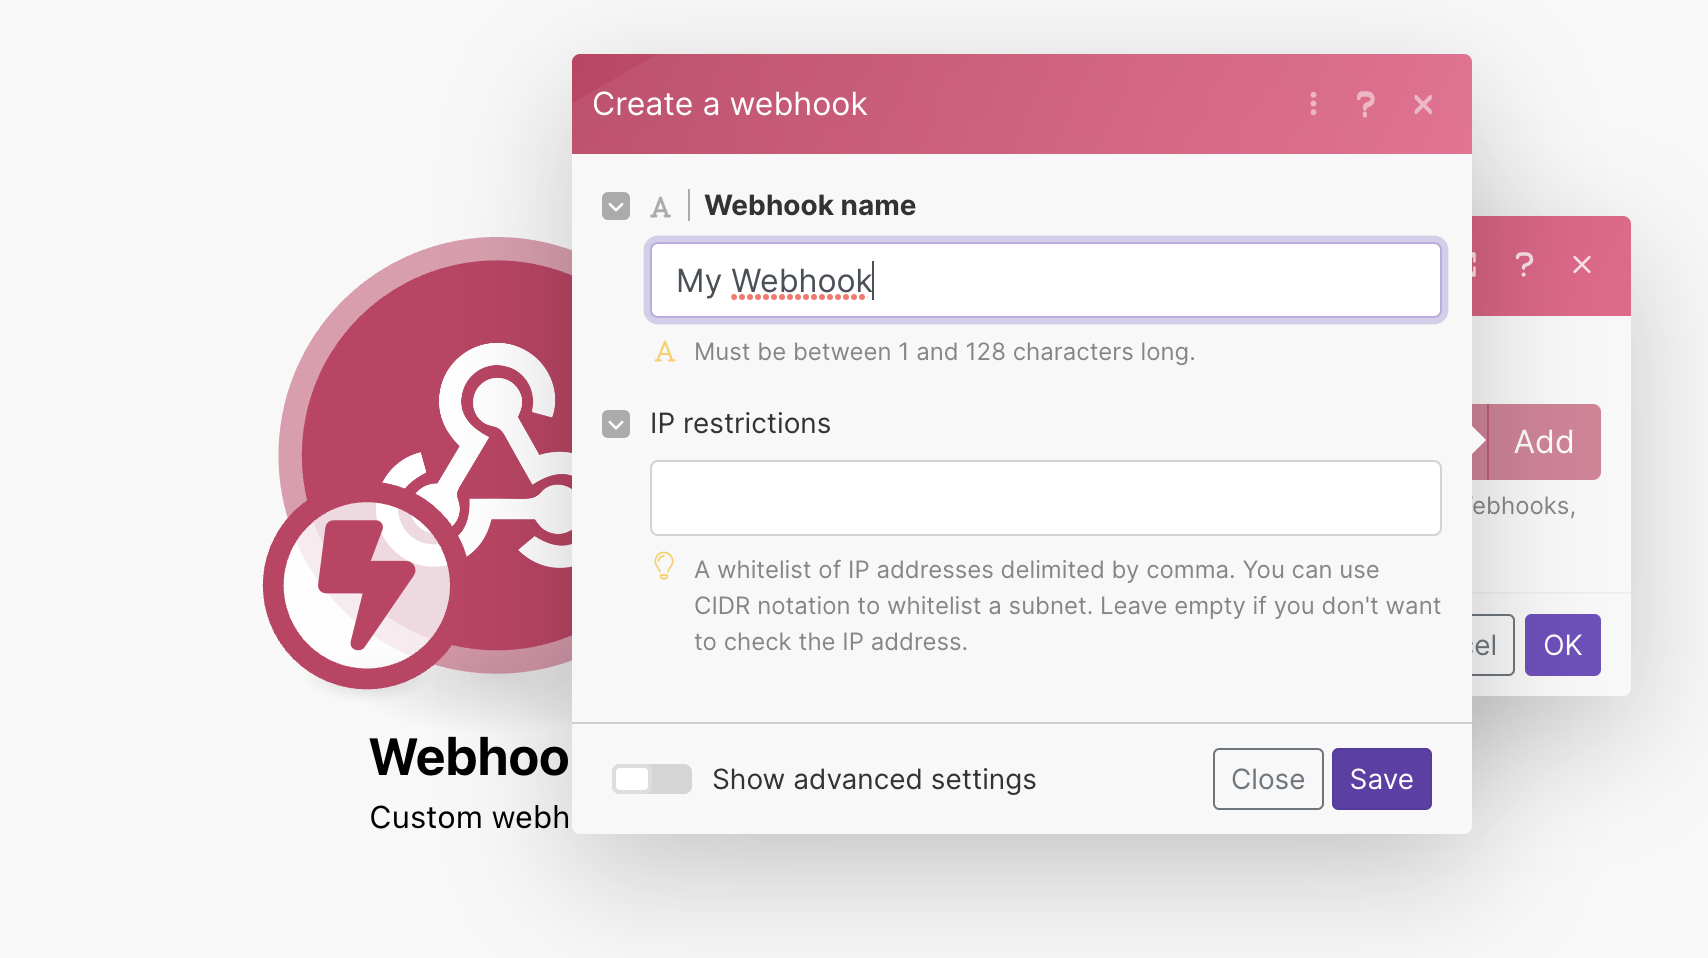
Give it a name and select Save.
- This will generate a webhook URL. Copy it.
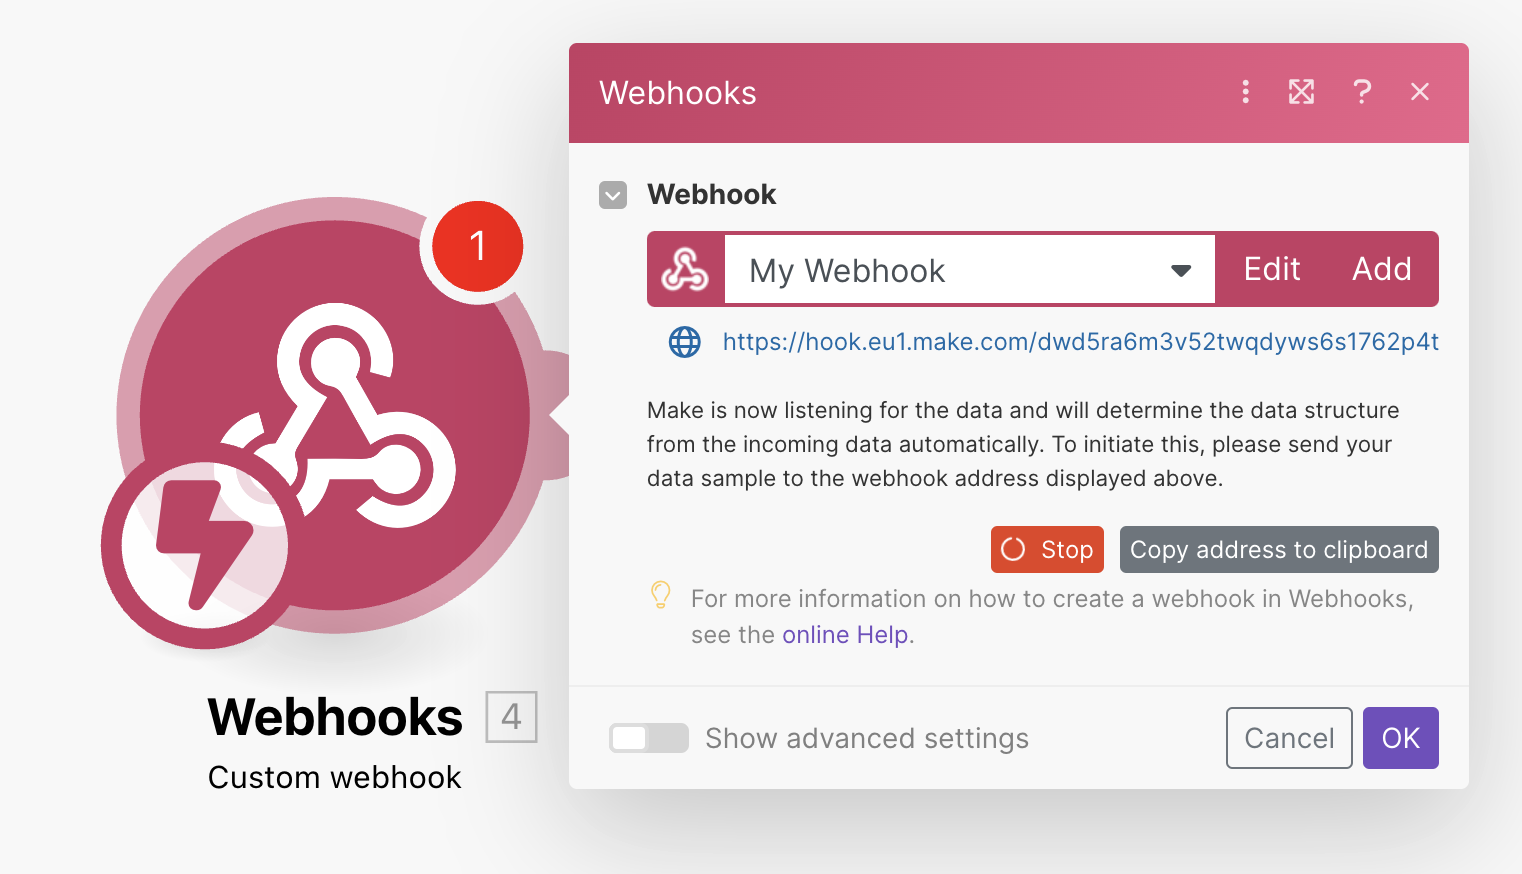
Copy the webhook URL.
- In your Smartproxy collection, select Webhook as the data storage type and paste the webhook URL

Paste the webhook URL in the Smartproxy collection.
That’s it! You can now connect the No-code Scraper with other tools.
Troubleshooting
Unable to click anything in the toolbar of the extension
If the toolbar of the extension is not responsive, refresh it by clicking Command + R on macOS or CTRL + F5 on Windows.
In case you are using an external monitor, make sure that only one Chrome browser instance is open at a time.
Unable to select element or selected element text appears as an empty field
Some website elements have a few border boxes wrapped around them, so make sure to hover directly over the text you wish to extract.
Unable to see the data selector
If you cannot see the element selector box, restart your Chrome browser fully and re-open the extension.
After opening the page and clicking on the Start scraping button, unable to see the bottom toolbar
Refresh the page and wait for it to load fully. Only after the page is fully loaded will the scraper start.
Have other issues? Let us know at [email protected].
Updated 2 months ago
